Workstations
This section lists all computer systems that have access to the database. A new entry is automatically created whenever an unknown workstation attempts to access the database. As this step is part of the local Helios 3D installation, there is no option to manually add a workstation to this list; you can only edit existing entries (to rename a workstation) or delete them.
To use Helios 3D, each workstation requires a „Program Configuration,“ which informs Helios how to launch a version of AutoCAD Civil 3D. This configuration can be added in the „Additional Data“ section of the workstation.
The Workstations section is used to manage the computers that are known to the Helios 3D database. A workstation represents a local computer installation that can connect to the shared database and start the configured CAD environment. This is especially relevant in multi-user environments where several planners access the same project data from different computers.
The workstation entry itself is created automatically when a previously unknown computer accesses the database. The main administrative task on this page is therefore not to create workstations manually, but to check existing workstation entries and maintain the program configurations used to start AutoCAD Civil 3D with Helios 3D.
How to set up a new workstation configuration
Before creating or editing a workstation configuration, make sure that the required CAD application is installed on the local computer and that the user knows which executable file and profile should be used. The program configuration defines how Helios 3D starts the CAD application on this workstation.
A valid configuration should normally include a clear configuration name, the correct program type, the full path to the CAD executable, and the profile that should be loaded when the CAD application starts. If multiple CAD versions or profiles are available, use a descriptive name so that users can easily select the correct configuration later.
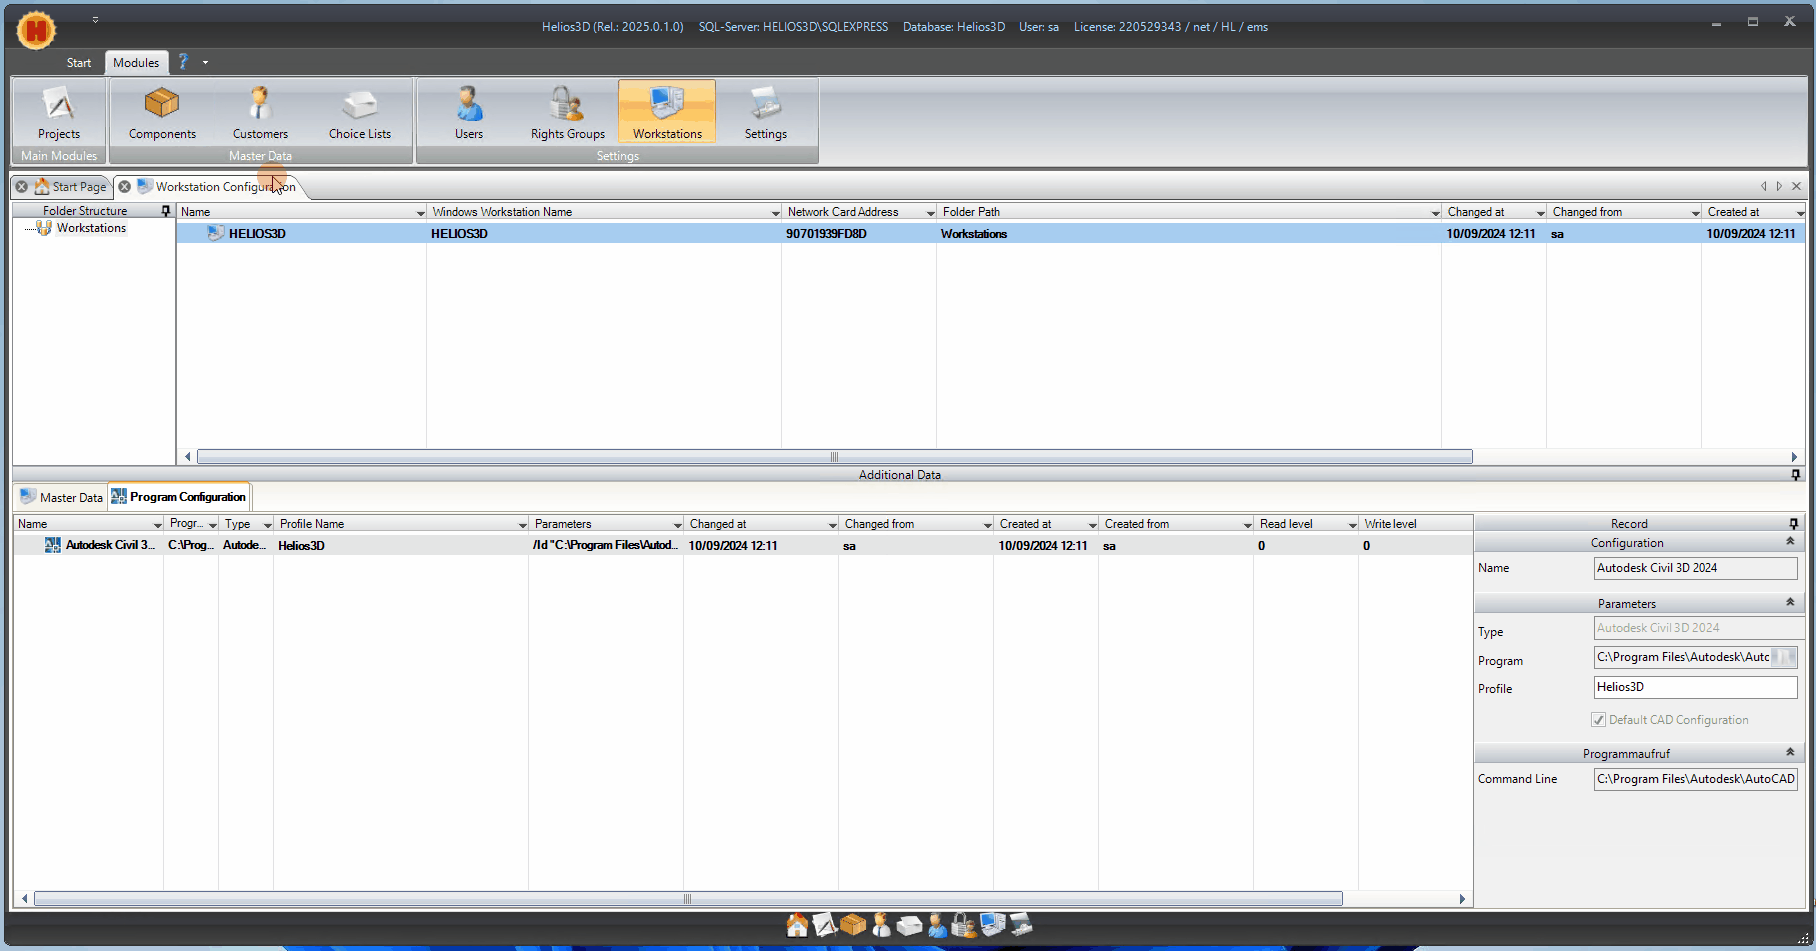
To edit a workstation, select the desired station from the list and navigate to the “Additional Data” window located below the station list, then click on the “Program Configuration” tab.
In this section, there should be at least one standard configuration that connects Helios 3D to a CAD application. To add a new configuration or modify the existing one, right-click within the list and choose the “Add…” option from the context menu. In the dialog that opens, you can create a new configuration, as illustrated in the following figure using Autodesk Civil 3D as an example.
In this section, you need to enter a name and the parameters for the configuration:
- Type: Select a program type from the list.
- Program: Provide the program path for the executable file of the application.
- Profile: Enter the name of the profile from the selected program. This profile will be automatically loaded upon program startup. Instructions for setting up a profile will be provided in the next section.
Use the Type field to define which CAD application type the configuration refers to. Use the Program field to specify the executable file that should be started. Use the Profile field to define the CAD profile that should be loaded automatically together with Helios 3D.
If the profile name is incorrect, missing, or not available in the selected CAD installation, the CAD application may start with an unexpected environment or without the required Helios 3D setup. For this reason, the profile name should be checked carefully before the configuration is used in production.
If you choose to enable the “Default CAD Configuration” option, the current configuration will be preselected when Helios 3D starts. If no configuration is marked as default, the first one in the list (sorted alphabetically) will be preselected.
The Default CAD Configuration should be used for the configuration that is normally required on this workstation. This reduces the risk that users accidentally start a drawing with the wrong CAD version or profile. If no default configuration is selected, Helios 3D preselects the first configuration in alphabetical order.
When several configurations exist, for example for different CAD versions or different startup profiles, check the selected configuration before starting a drawing from Project Management.
The call command and command line parameters will be displayed automatically and cannot be edited.
Selecting a program configuration
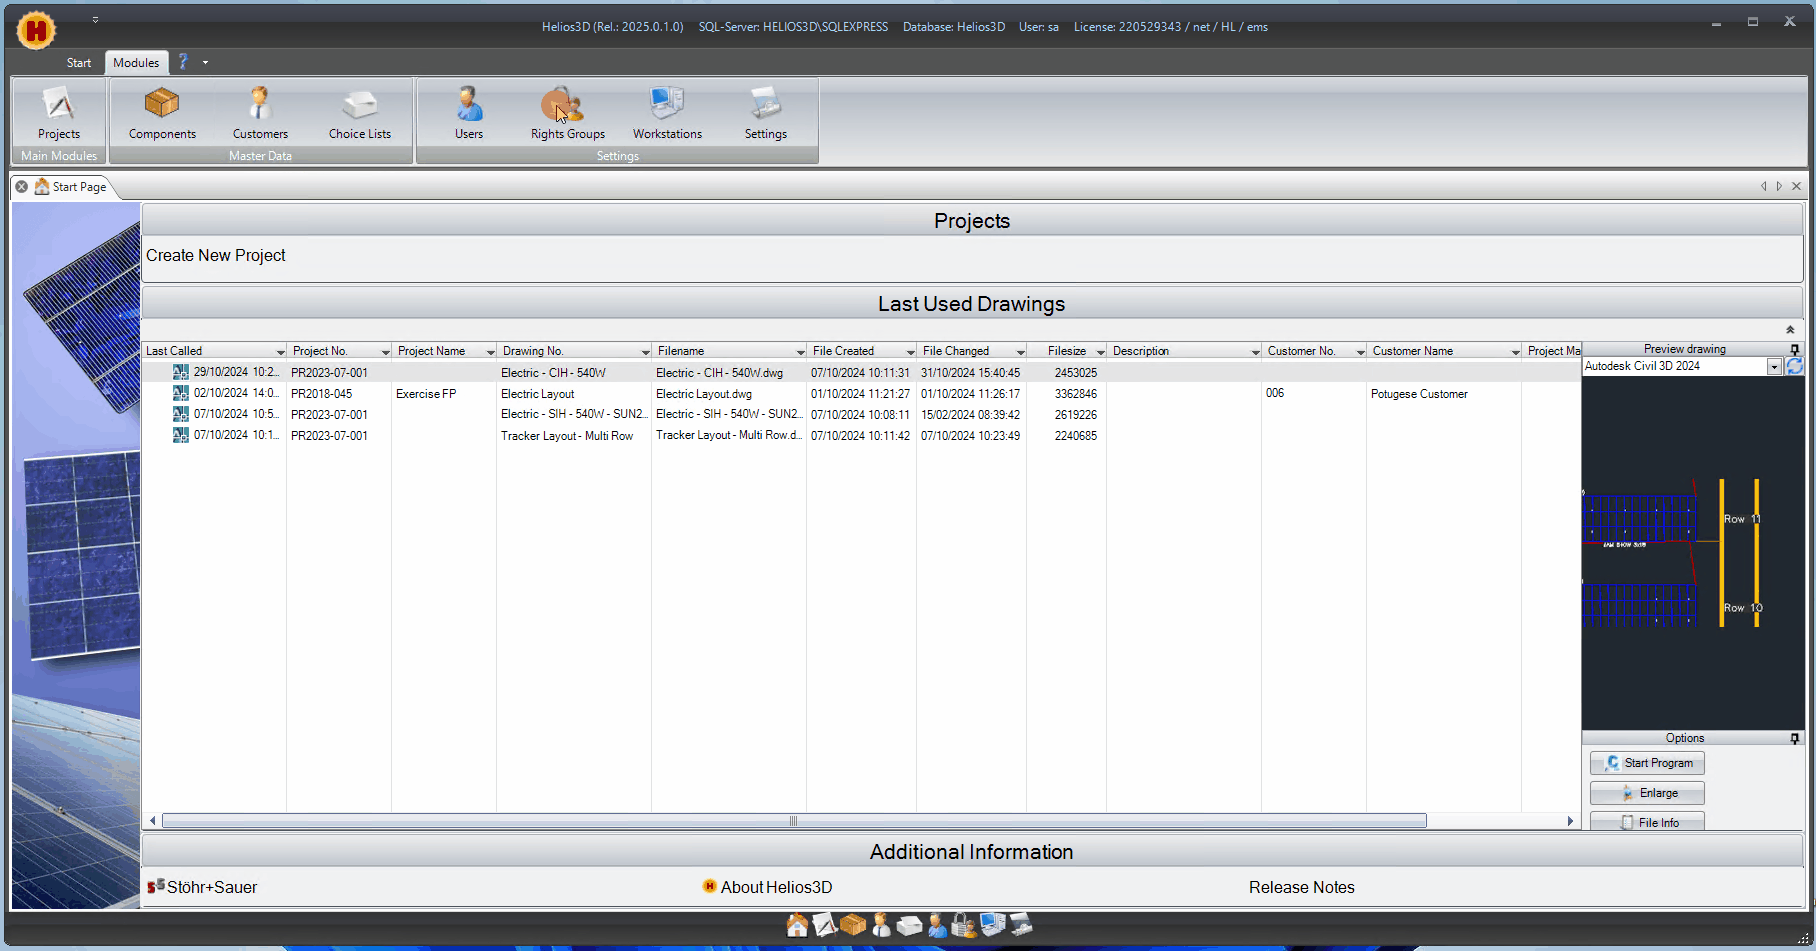
The program configuration is selected in Project Management before a drawing is started. Open the Drawings tab, check the drawing preview area, and use the Options section with the Start Program button to launch the drawing with the selected configuration.
It is recommended to refresh the available configurations before selecting another entry from the drop-down list. This helps ensure that the workstation uses the current configuration data from the database.
Before starting a drawing, you need to select a program configuration. To do this, navigate to the “Drawings” tab in your “Project Management.” On the far right, you will find a drawing preview along with the “Options,” which includes the “Start Program” button, as illustrated in the following figure.
We recommend clicking the refresh button before selecting a new configuration from the drop-down menu.
Troubleshooting
If the expected program configuration is not available, refresh the configuration list first. Then check whether the selected workstation entry contains a valid Program Configuration in the Additional Data section.
If CAD does not start, verify that the program path points to an existing executable file on the local computer. If CAD starts but the expected Helios 3D environment is not loaded, check whether the specified profile exists in the selected CAD application and whether the profile name is written correctly.
If the wrong configuration is preselected, check whether another configuration has been marked as Default CAD Configuration. If no default configuration is set, the first configuration in alphabetical order is preselected.
Related topics
Related topics:
- Installation: for setting up Helios 3D on a local computer.
- Licensing: for checking whether the workstation can start and use Helios 3D.
- Project Management: for starting drawings from the Drawings tab.
- System Settings: for database-related configuration options.
- User Management: for user access and permissions in the database application.