New Array Definition
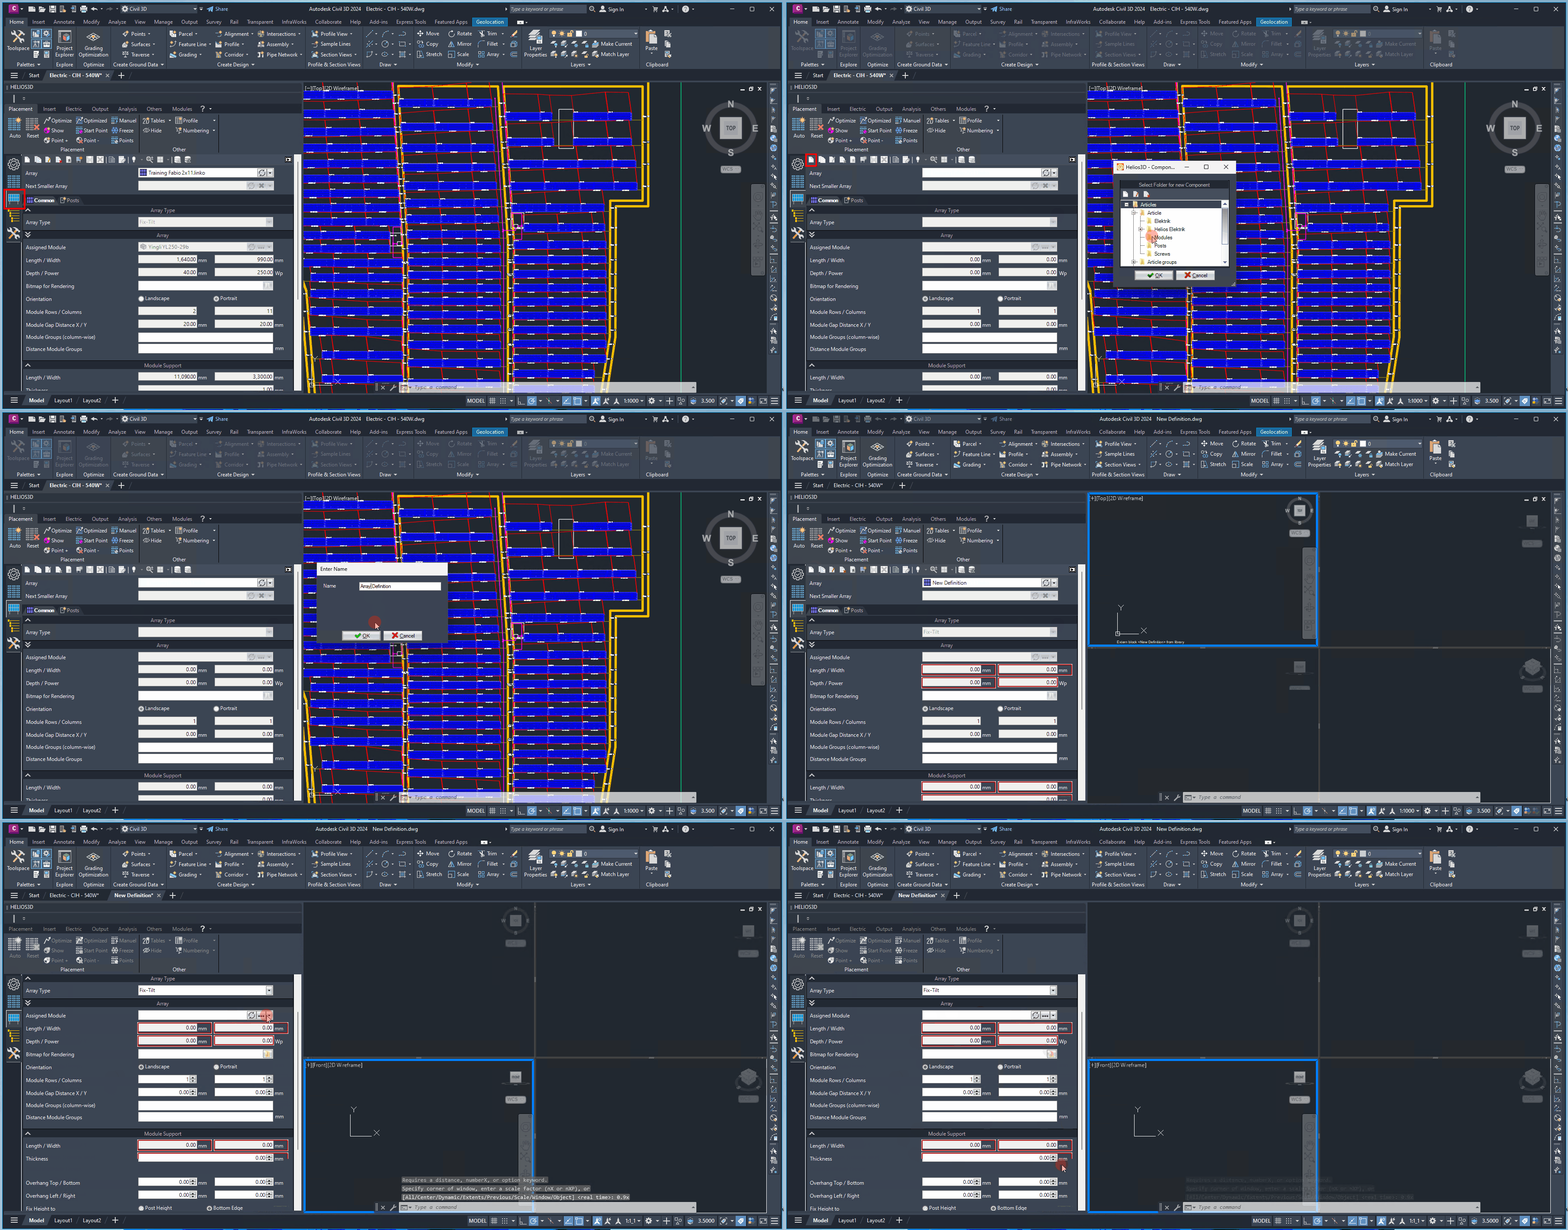
When creating a new array definition, you will be prompted to select a component folder, as shown. Afterward, you will need to enter a name (or component number) for the array definition. All necessary insertions can be performed directly in the Array Generator. Once all required values have been provided, the geometry will be automatically calculated and displayed.
Input fields that still require a valid value are highlighted with a red frame, indicating that user input is needed.

In the Array Generator, fields should be filled out in a top-down direction because some values are required for calculating subsequent values. For example, the “Length” and “Width” in the “Array Panel” section are determined by the module dimensions and the distances between the modules.
Module inclination can be adjusted for any placement within the field properties, allowing the same table to be used across different projects or locations.
Below, we will describe all sections of the rack generator, as shown in Figure. For clarity, each section is presented separately.
The first section includes the component number and naming for the rack, along with the option to connect smaller versions of the rack to the current rack definition.
Array
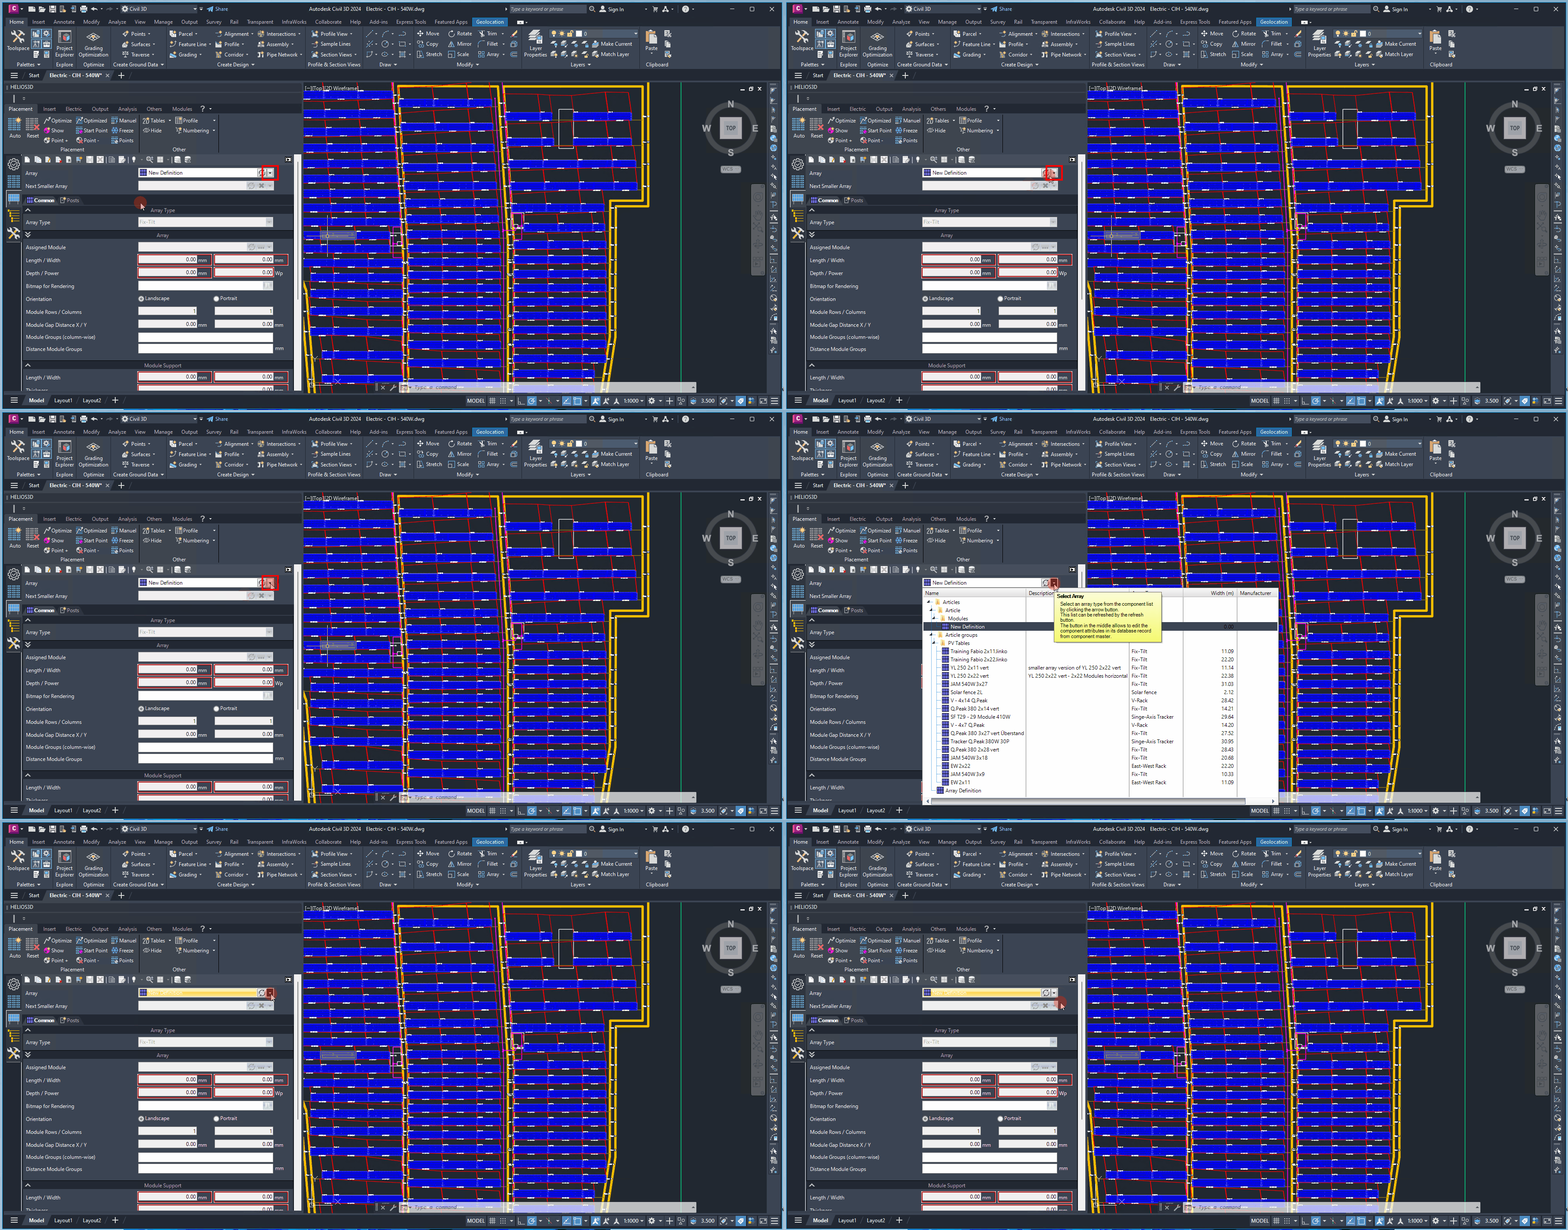
In this section, you can select an array definition from the list (database) or create a new one. If you need to modify a selected definition, you can do so using the „Edit Array Definition“ button located in the toolbar.

The additional settings are organized into the following tabs: „Common„, „Rack“, „Posts„, and „Electric„.