
Posts
Here you can define an individual post layout.
The Posts section defines how support posts are arranged within an array definition in Helios 3D. These settings influence the structural representation of the rack, the position of post rows, the number of posts per row, and how posts react to rack geometry, inclination, terrain slope, and east-west configurations.
Use this section when you need to define or adjust the post layout before using the array definition for placement in a PV layout. The resulting post configuration affects the generated rack geometry and can also be relevant for later evaluation, documentation, and quantity-related outputs.
Installation type
The installation type determines whether neighboring racks are treated as independent structures or as connected structures. This affects how left and right post offsets are applied and whether adjacent arrays can share posts on connected sides.
Detached Installation
When enabled, the rack installation operates as a detached system.
In this mode, the left and right post offsets are applied individually to each rack.
This setting can only be modified in edit mode and when no rack is selected from the database.
Connected Installation
When enabled, the rack installation is linked to neighboring racks.
In this setup, post offsets to the left and right are only considered at the outer ends of the first and last racks in a row. If two arrays in a row are placed directly next to each other, they share the post on the connected side, resulting in one fewer post for one of the arrays.
This setting can only be modified in edit mode and when no rack is selected from the database.
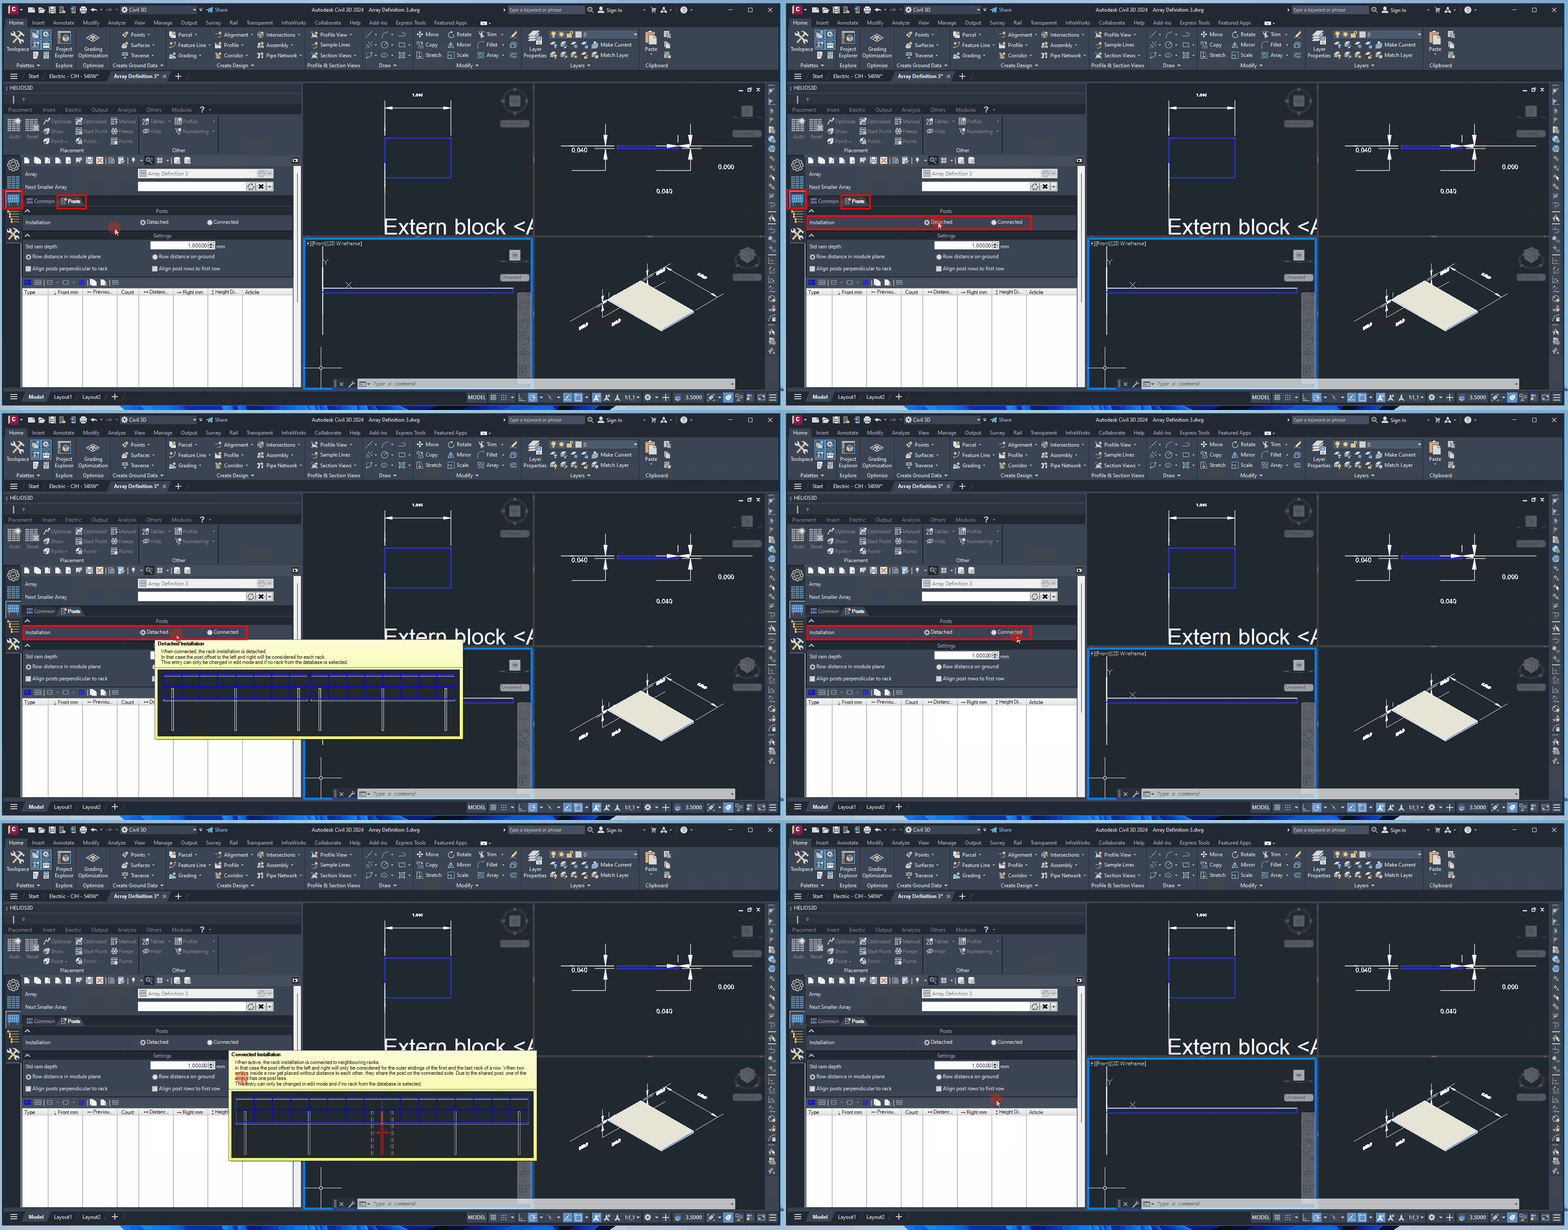
Choose Detached Installation if each rack should keep its own complete post structure. Choose Connected Installation if racks placed directly next to each other should behave as a linked row and share posts where applicable. This distinction is especially important when comparing structural layouts, post quantities, and the visual continuity of long table rows.
Post depth and row reference
The following settings define the vertical embedment of the posts and the geometric reference used for post-row offsets. Depending on the selected option, offsets are interpreted either in the module plane or on the ground.
Default Ram Depth
Indicates the depth to which the post is embedded in the soil. This depth will remain consistent for all posts.
Row distance in module plane
The offsets for the post rows are defined in the module plane based on the default module inclination angle. For any other inclination angle, the positions on the ground will be adjusted accordingly.
If no overhang is specified, the upper edges of the modules (red) serve as the base point for the post offset. When an overhang is defined, the upper edge of the module support (blue) is used as the base point.
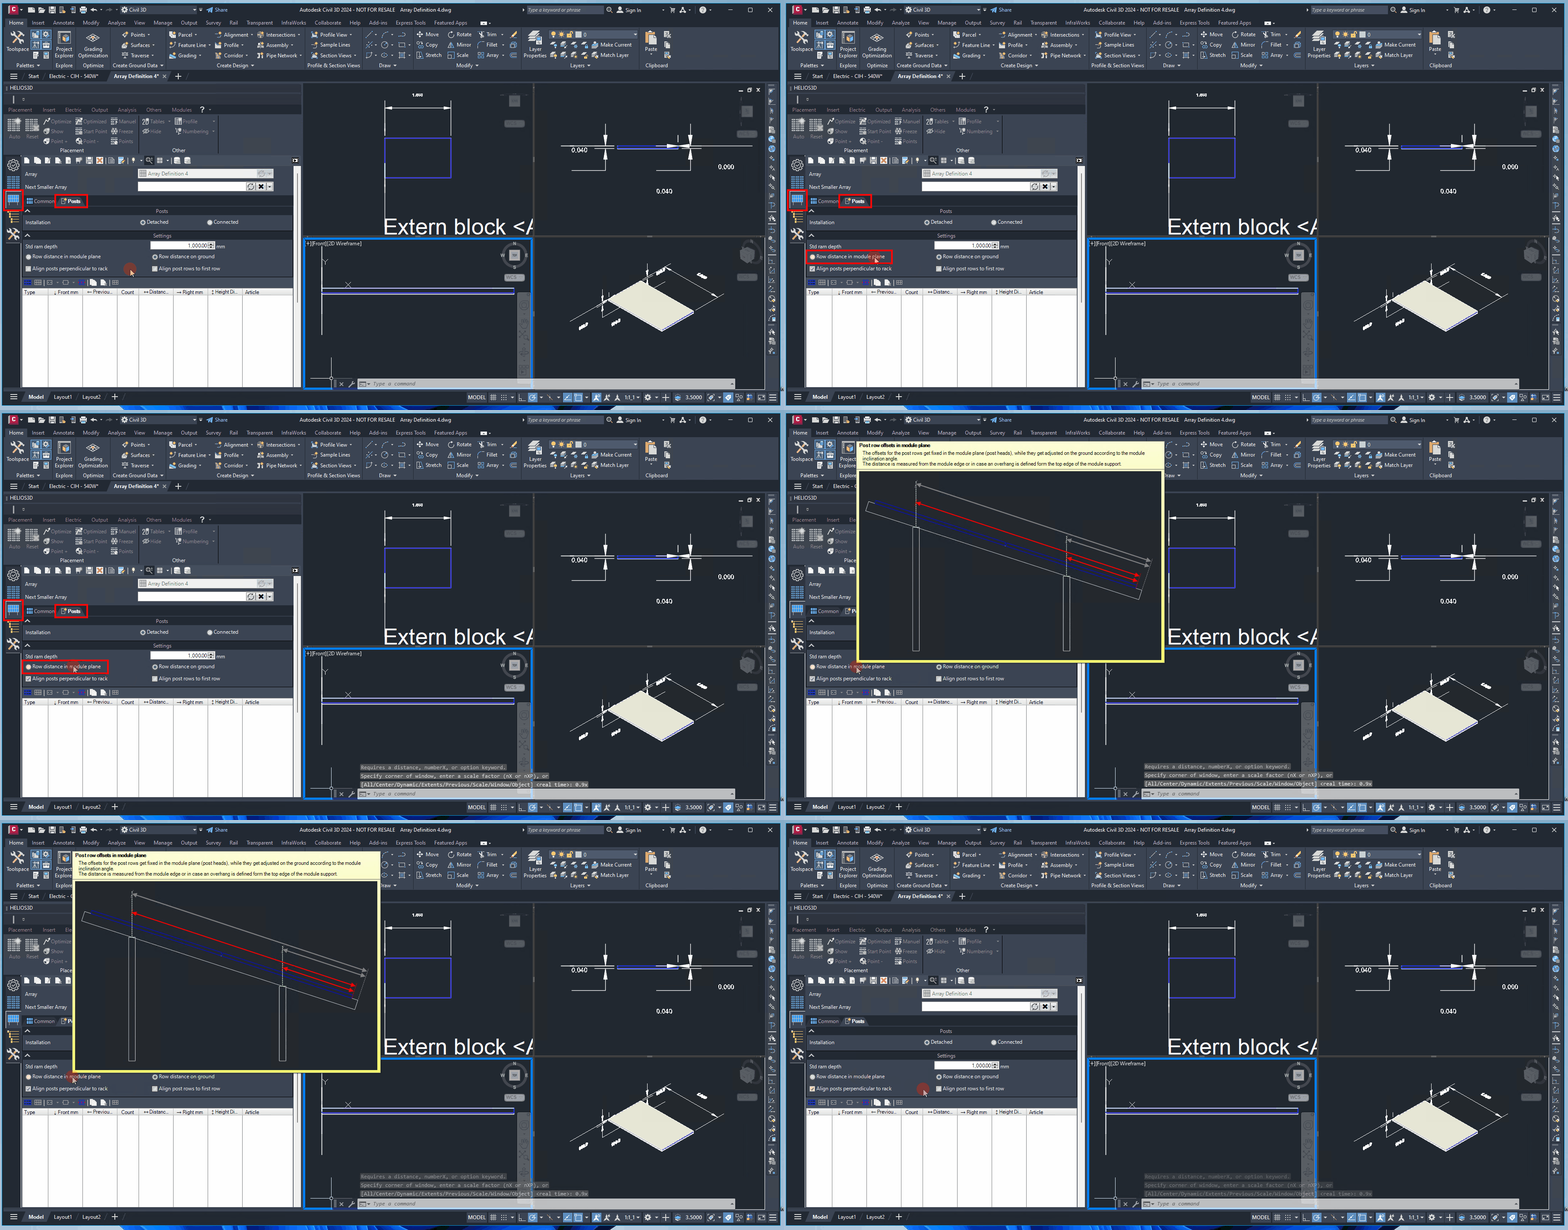
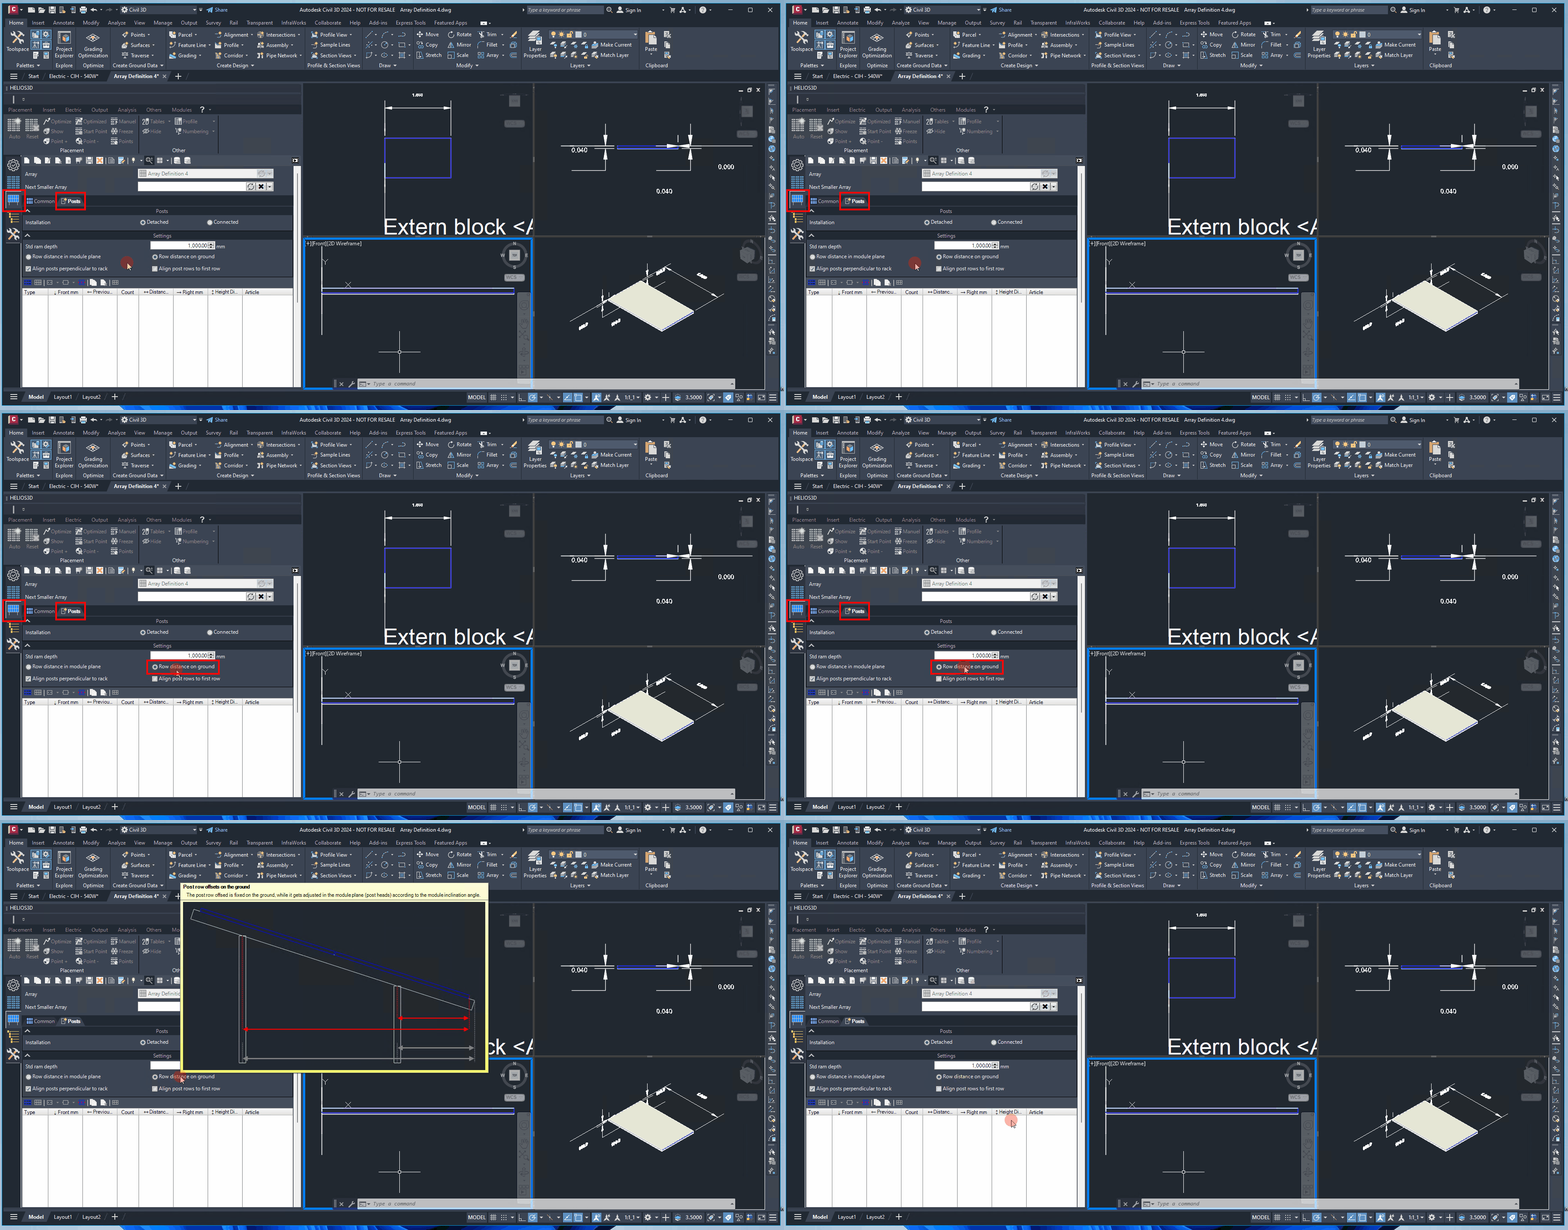
Row distance on ground
The offsets for the post rows are defined on the ground. If no overhang is specified, the upper edges of the modules (red) serve as the base point for the post offset. If an overhang is present, the upper edge of the module support (blue) becomes the base point.
With this option, offsets in the module plane are adjusted for different module inclination angles.
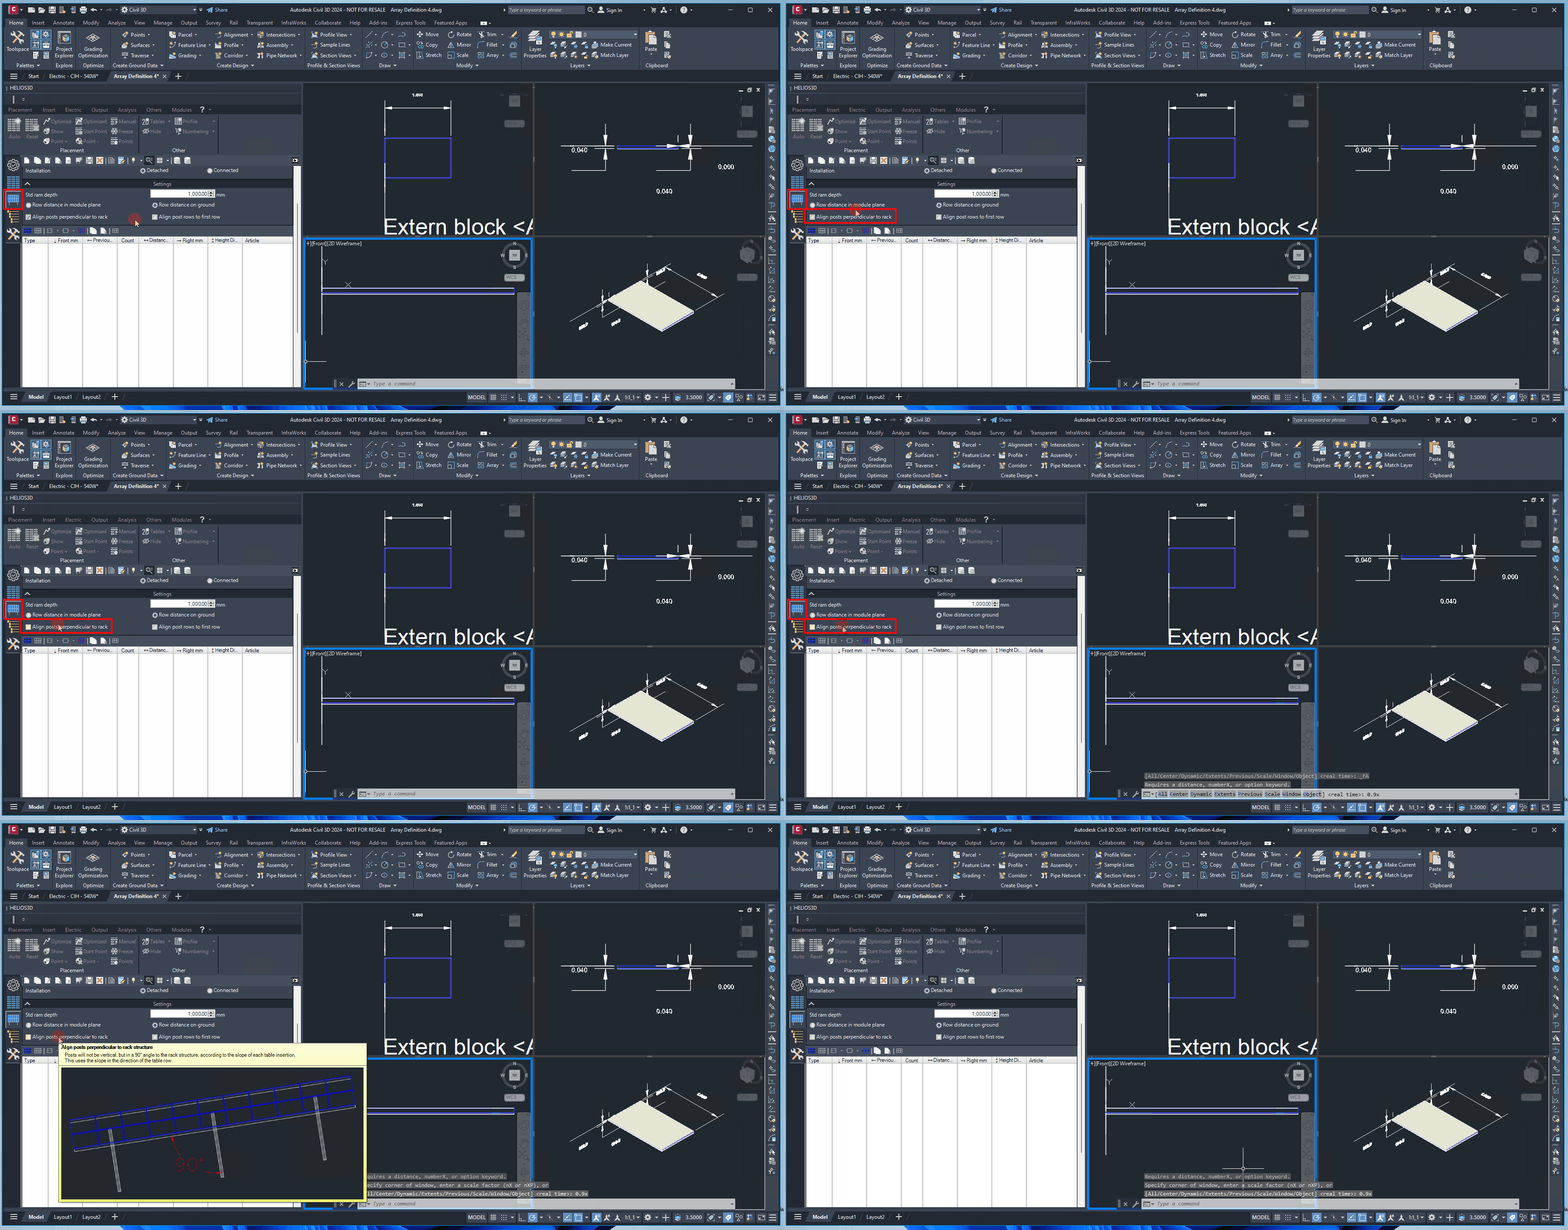
Align posts perpendicular to rack
The posts will be positioned at a 90° angle to the rack structure, aligning with the slope of each table insertion. This alignment follows the row direction slope.
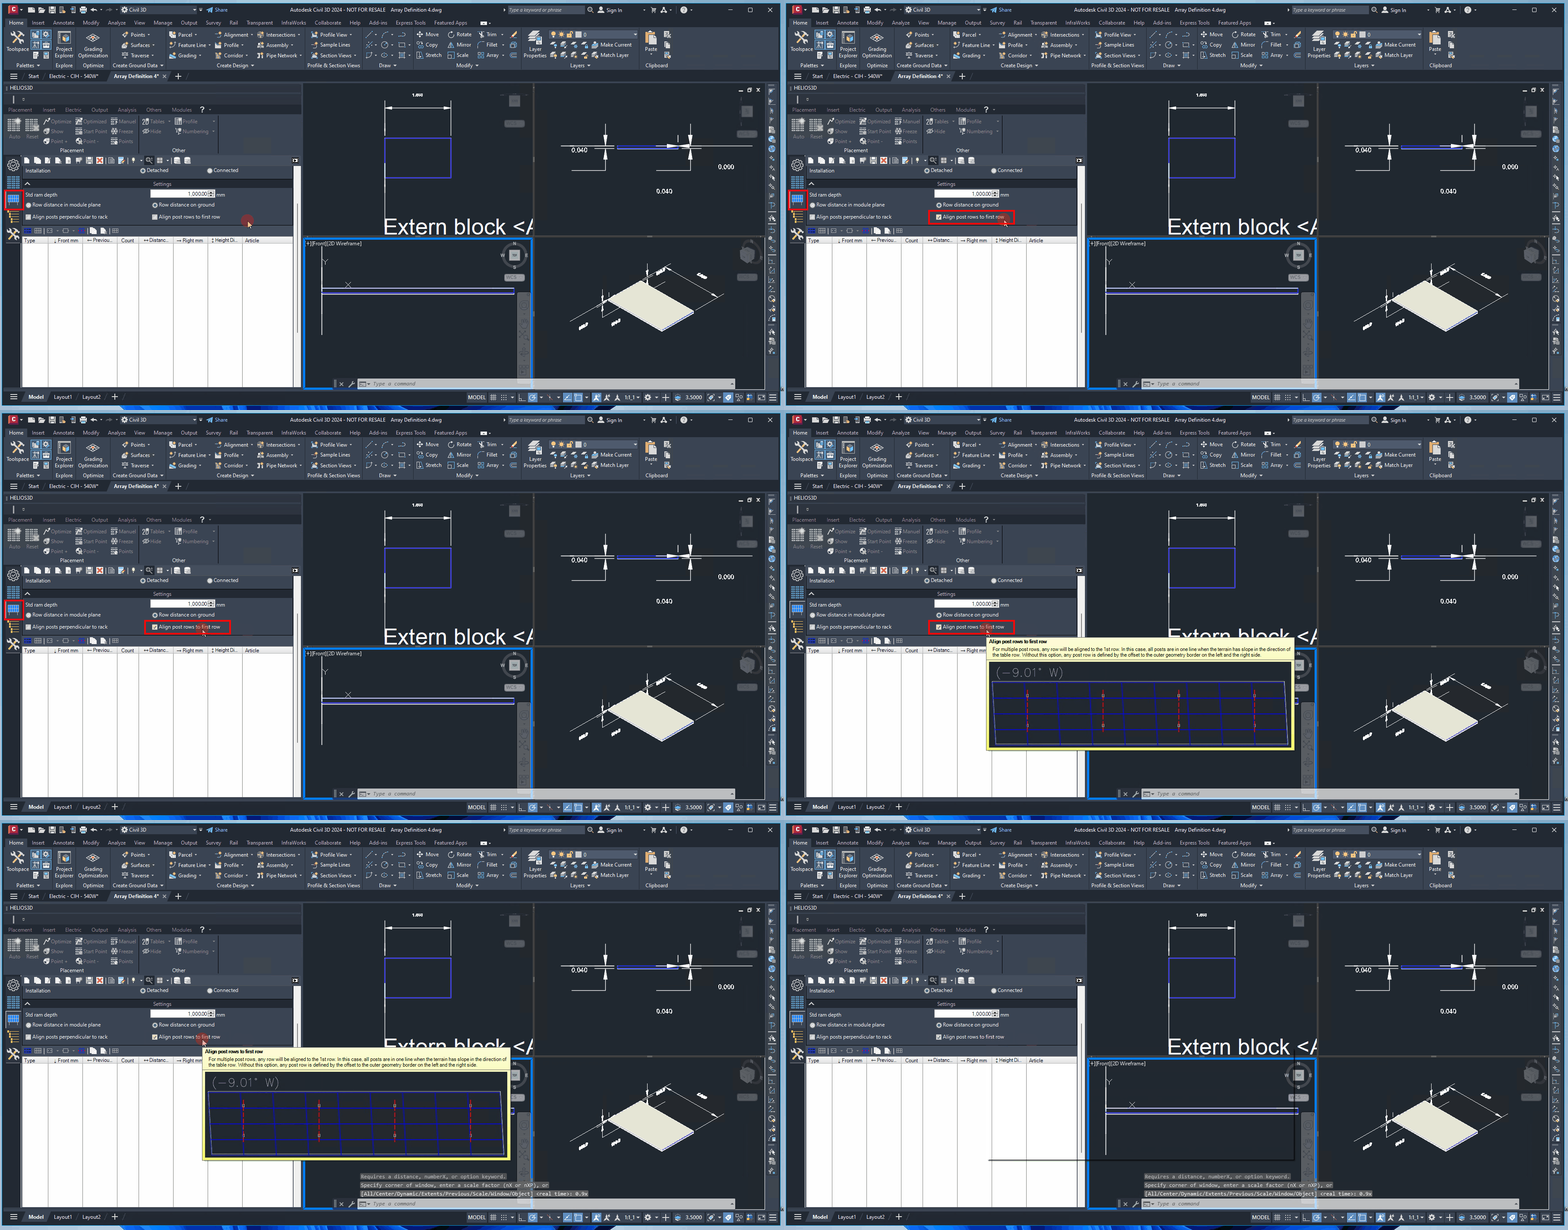
Align post rows to first row
For multiple post rows, each row will align with the first row, ensuring that all posts form a straight line when the terrain slopes in the table row direction. Without this option, each post row is positioned based on its offset from the outer boundary on the left and right sides.
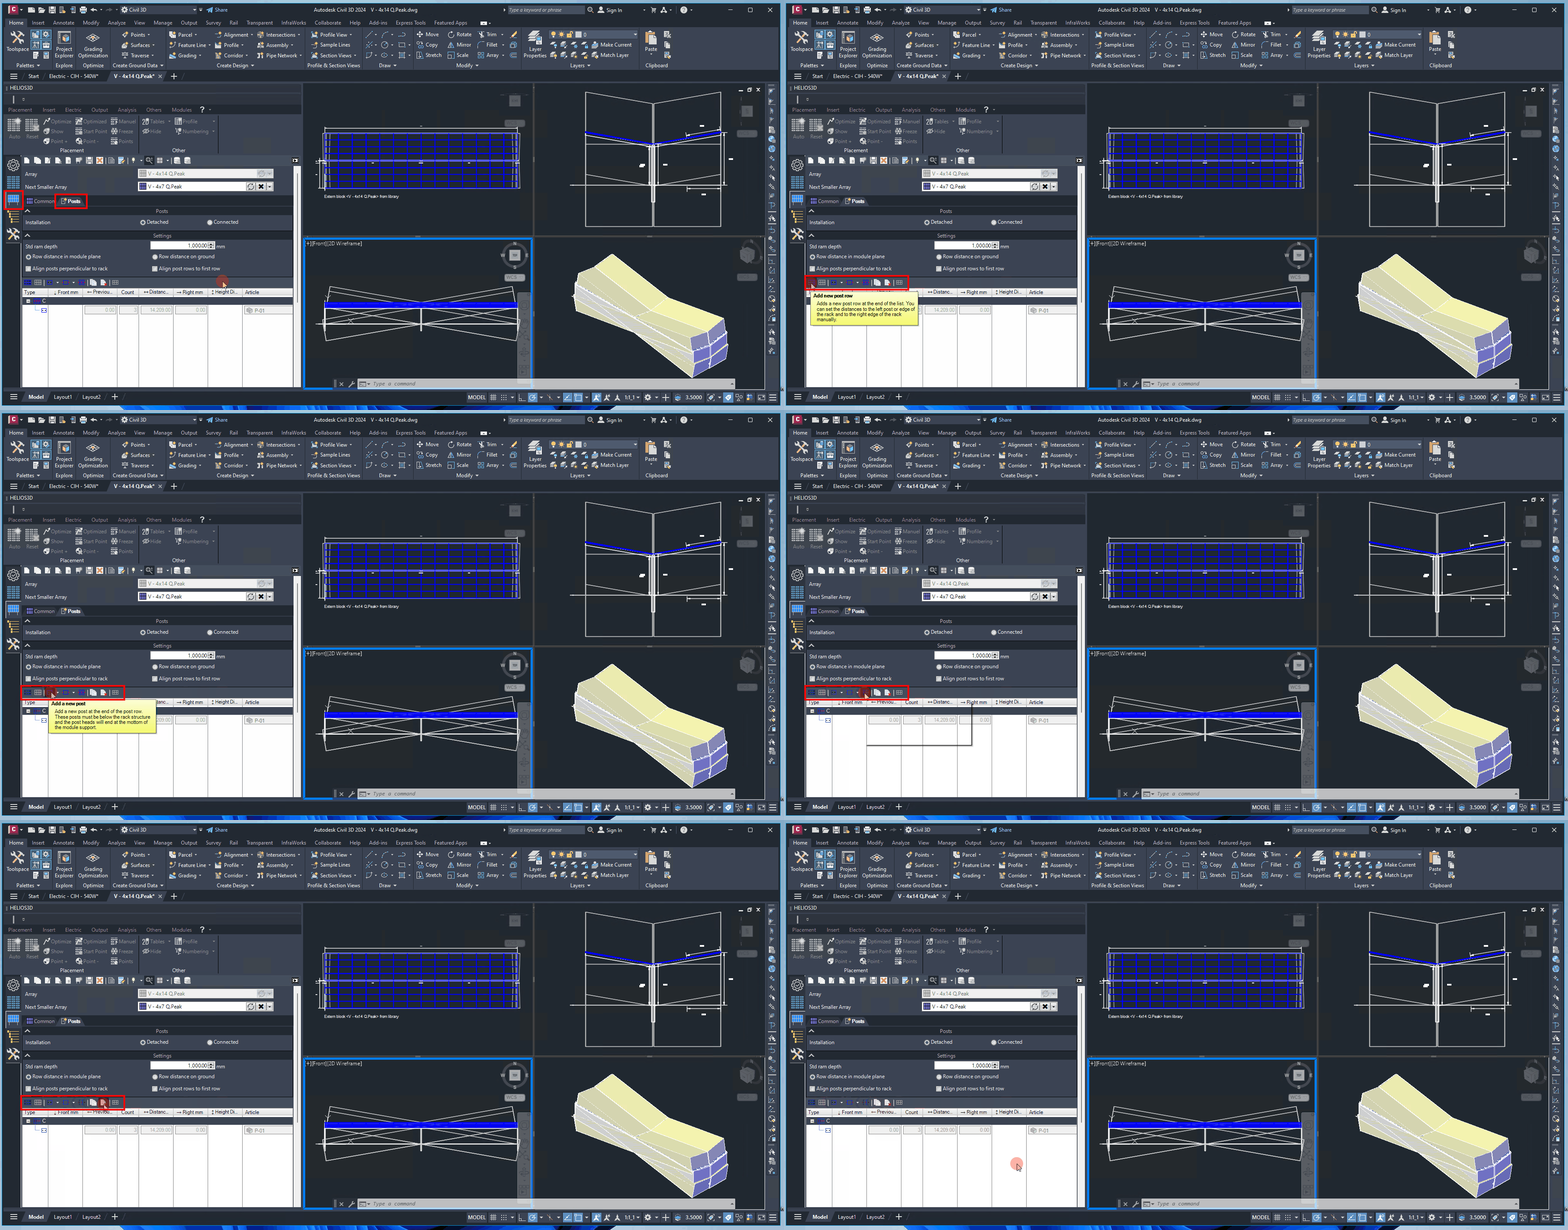
The number of post rows and posts per row can be specified in the new list view, where several insertion commands are available above the list for easy setup.
Post Numbering and Multiple Selection
The post list displays the numbers of the post rows and the individual posts. These identifiers make it easier to locate and edit specific records, especially in array definitions containing several post rows or complex post arrangements.
The Posts page also supports the simultaneous selection and editing of multiple posts.
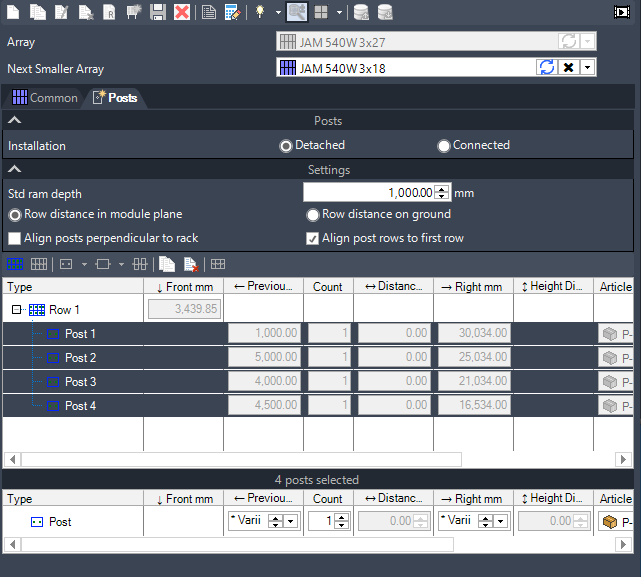
Post and Post-Row Numbers
Each post row and each post is identified by a number in the list.
The numbering clarifies the hierarchy of the post layout and helps distinguish individual post rows and posts when several similar records are present.
Use these numbers to identify the record that must be reviewed or changed.
Selecting Multiple Posts
Select multiple posts when the same value must be checked or changed for several records.
After multiple posts have been selected, an additional editing row appears below the main post list. This row summarizes the values of all selected posts.
The number of selected posts is displayed above the combined editing row.
Combined Editing Row
The combined editing row contains the properties that can be reviewed or changed for all selected posts at the same time.
If all selected posts use the same value, that value is displayed in the corresponding field.
If the selected posts use different values, the field displays *Varies.
Varies
*Varies indicates that the selected posts do not all contain the same value for the corresponding property.
The marker is informational. It allows different existing values to remain unchanged until a new value is entered.
Do not interpret *Varies as an invalid or missing value. It only indicates that the current selection contains different values.
Overwriting Values
Enter a new value in the combined editing row to overwrite the corresponding property for all selected posts.
Only change a value when the same setting should be applied to every selected record.
Before overwriting a field marked with *Varies, consider whether the existing differences are intentional. For example, different distances or height differences may be required by the post geometry.
Checking Multiple Changes
After editing multiple posts, verify that:
- the intended posts were selected;
- no unintended post row or post was included;
- fields marked with
*Varieswere only overwritten intentionally; - the resulting distances are correct;
- the selected post articles are correct;
- adjustable post heights still correspond to the intended geometry;
- the post arrangement remains valid for the array definition.
Multiple editing improves the handling of complex post layouts but can also change several records at once. Review the affected rows before saving the array definition.
Add new post row
Adds a new post row at the end of the list. You can then set the offset of the generated row to either the front or rear of the array using the „Front mm“ or „Rear mm“ fields.
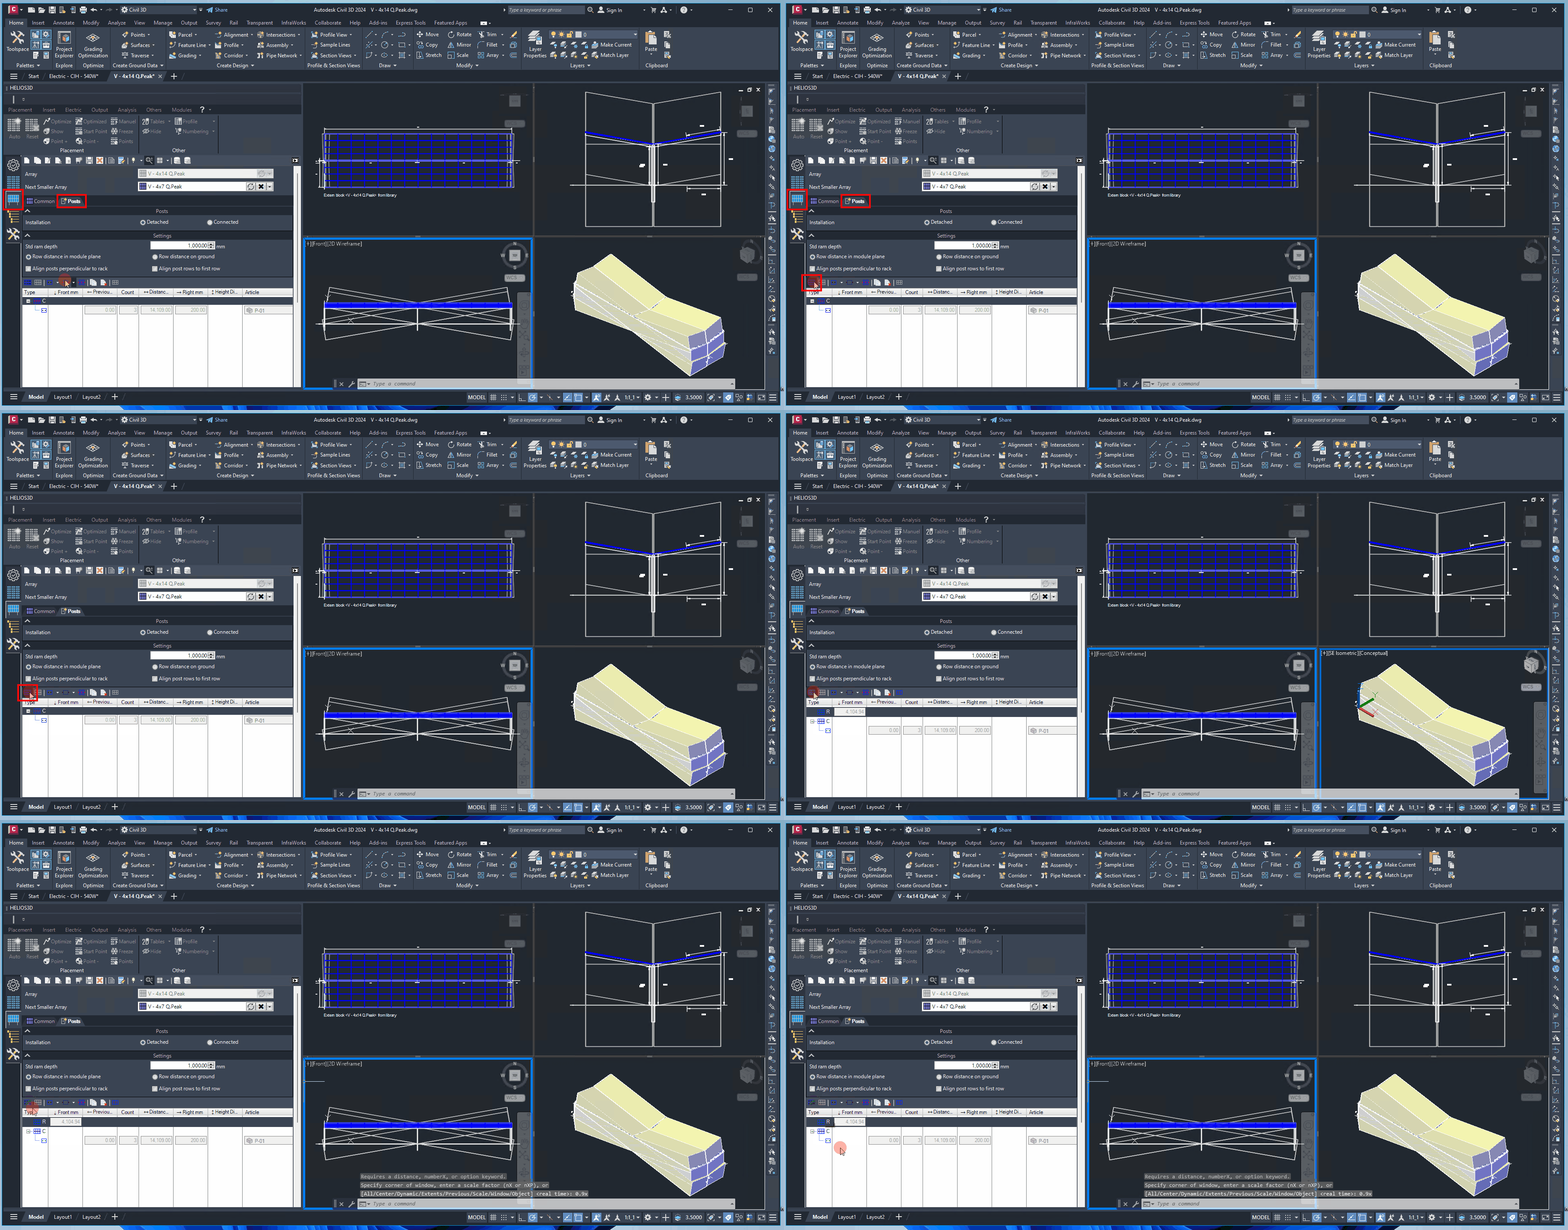
Add centered post row (only east-west racks)
Inserts a centered post row, available exclusively for east-west racks. This option places the post row centrally within the gap between the mirrored geometry sections. The row itself will not be mirrored, and only the number of posts within the row can be adjusted, not its main position.
Add default post to row
Clicking this button appends a post to the end of the post row, using the default configuration where the post head height aligns with the bottom of the module support. This was the standard post generation method in earlier Helios 3D versions.
By clicking the down arrow on this button, you can access additional options: add a post before the selected post node or replace the selected post with one that has an adjustable height.
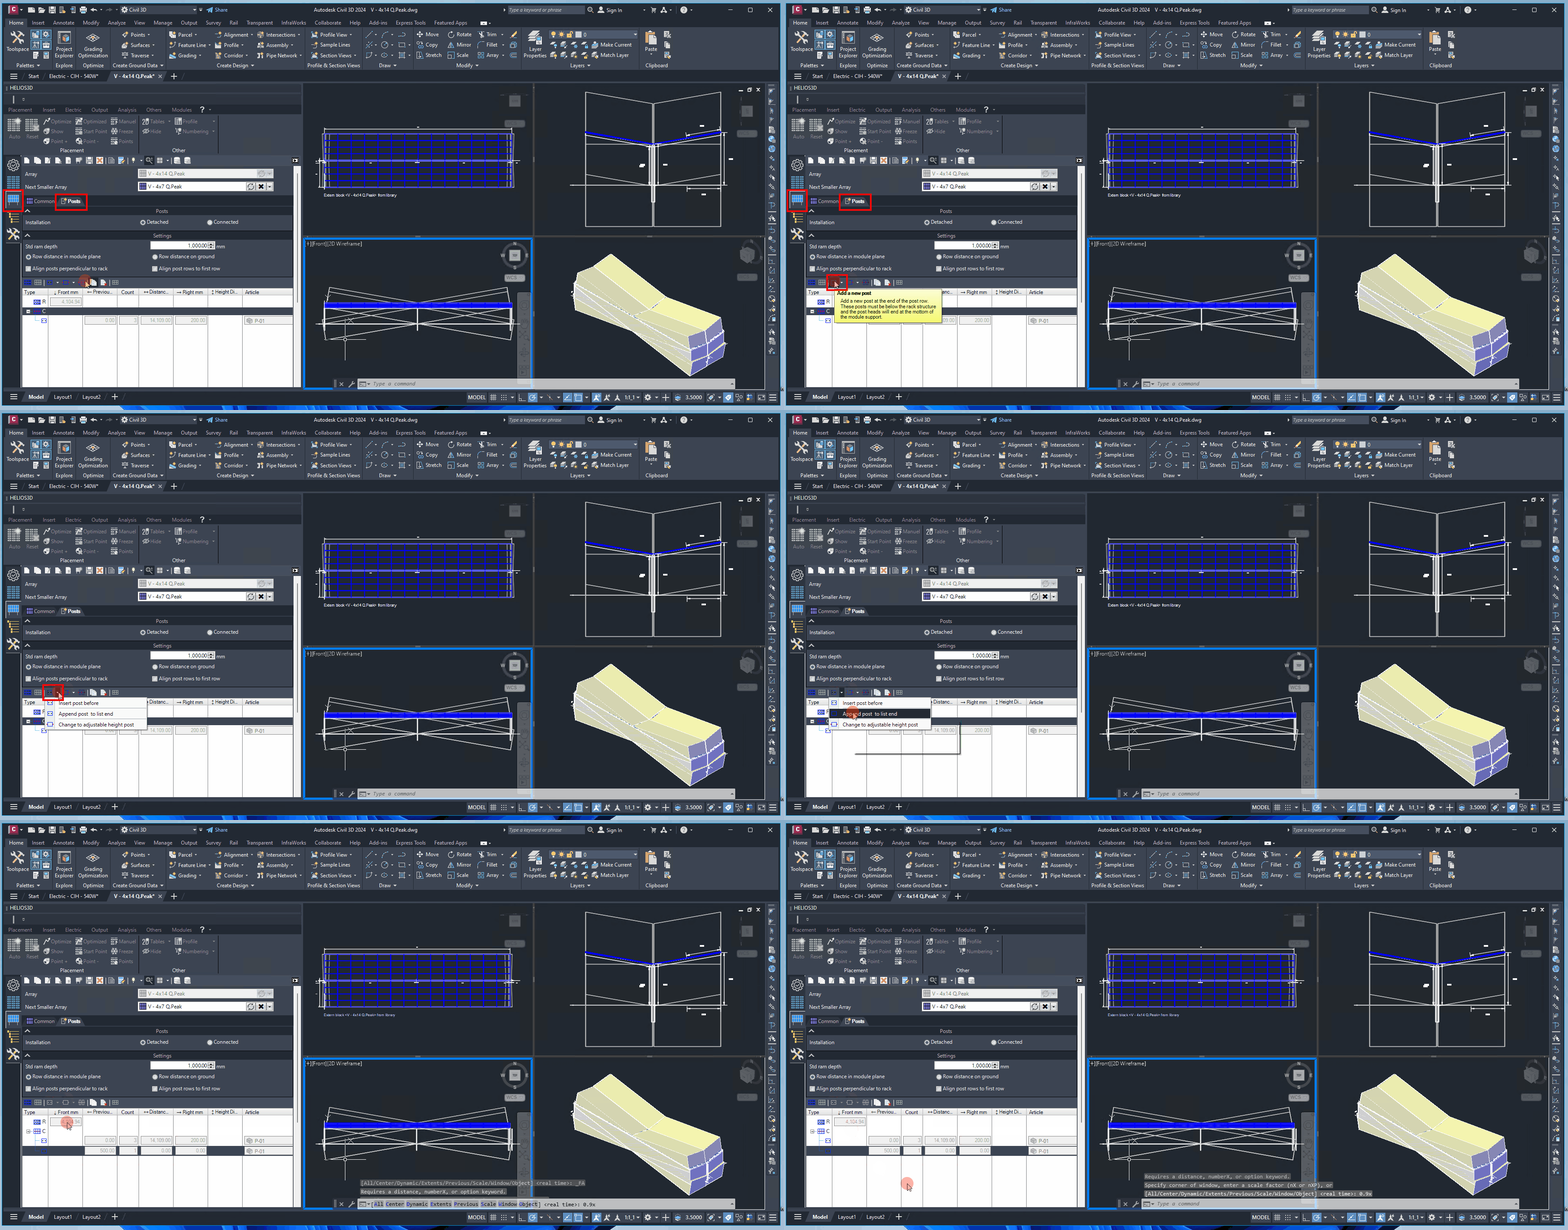
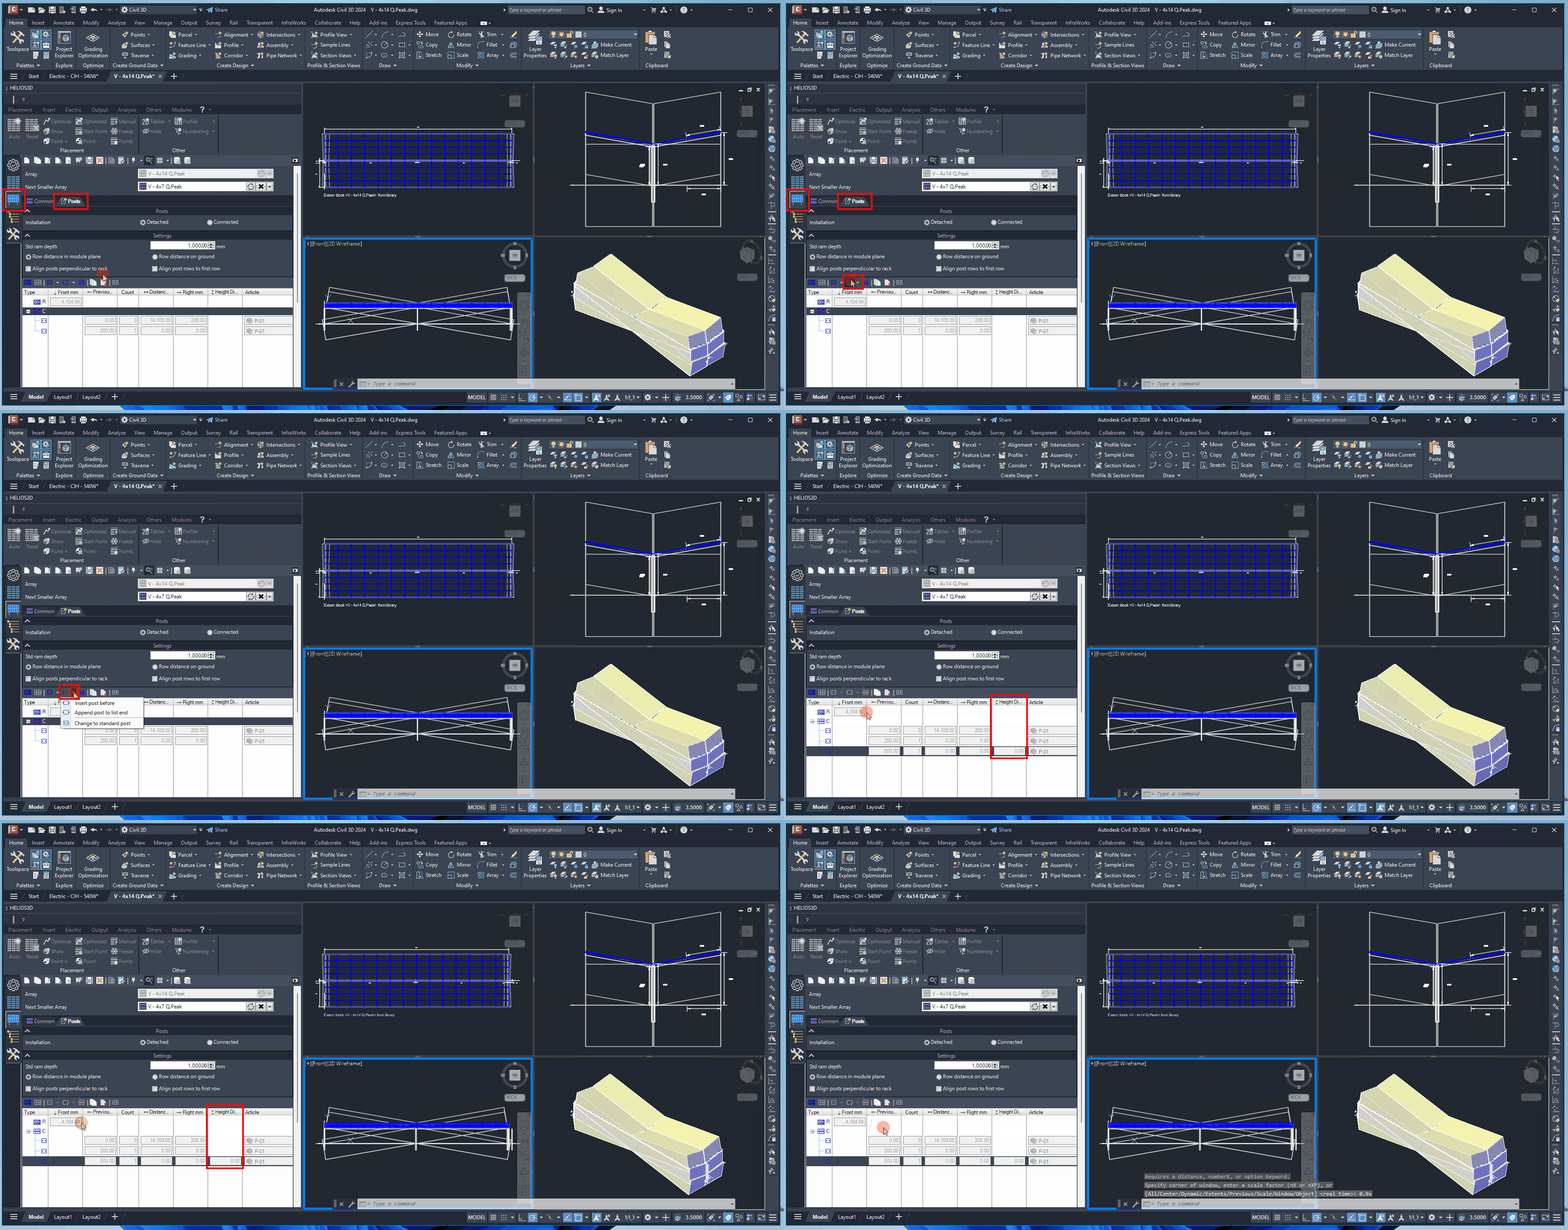
Add post with adjustable height to row
Clicking this button adds a post with adjustable height to the end of the post row. The post head is initially aligned with the upper module plane (active area), and you can adjust its height by lowering the head position in the „Height Diff.“ column, measured in mm.
Adjusting the height difference lowers the post head by the specified value.
By clicking the down arrow on this button, you can access additional options: you can either add a post before the selected post node or replace the selected post with a standard post.
Generate posts automatically
Opens the dialog to generate a post row.
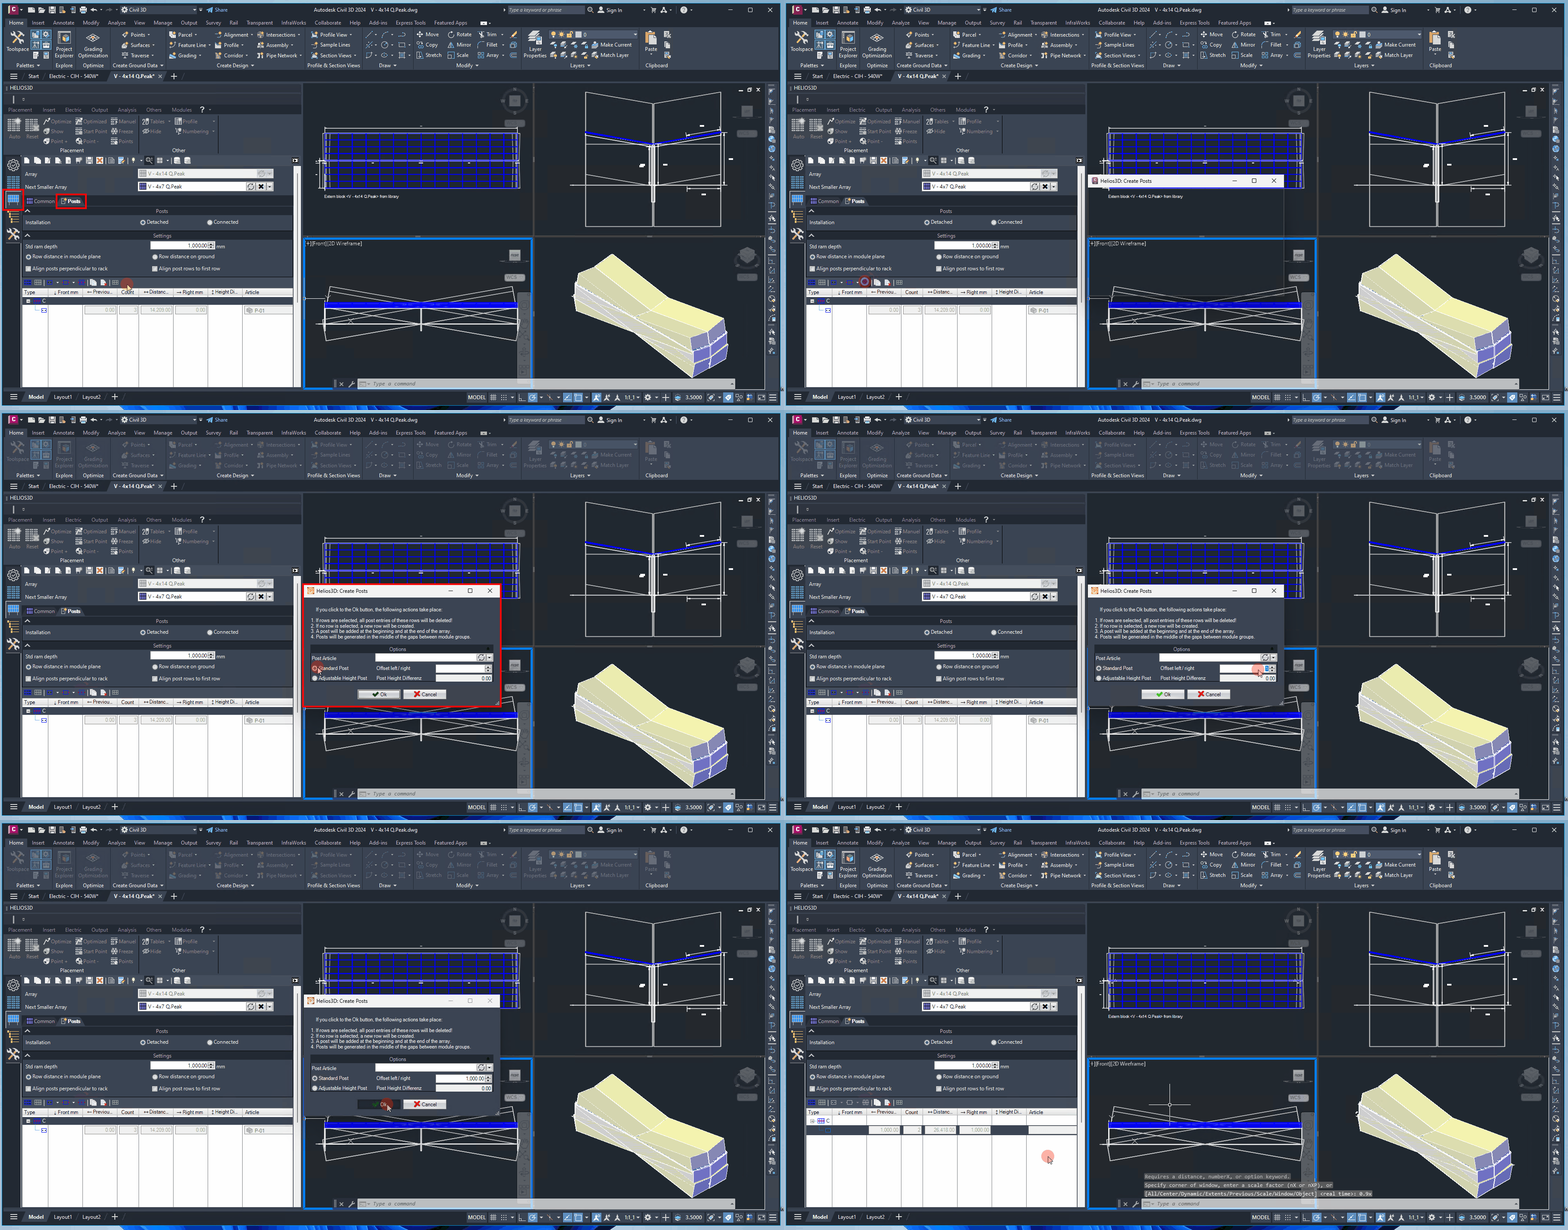
For a clean list view, a post row is generated at the center of the array (or in each array half for east-west racks). In this row, one post is placed at each table end, with additional posts added at each gap between module groups.
If an existing row entry is selected when this button is clicked, all posts in that row will be removed, and instead, a post will be placed at each table end (or at specified offsets) along with additional posts at each module group gap, if defined.
Using this command on a post row that already contains posts will delete the existing posts before adding new ones.
Copy row
Duplicates the selected row entry along with all contained posts.
Delete selected entries
Removes the selected entries.
Center row
Centers the selected row within the array at the module plane.