Helios 3D Palette
Helios 3D enhances Autodesk Civil 3D with an additional tool palette that houses all of its features. Typically, this palette opens automatically, but if it doesn’t appear or gets hidden, you can easily reopen it via the Autodesk Civil 3D context menu.
The Helios 3D Palette is the central access point for most planning, editing, analysis, and output functions within Helios 3D. It combines project-related commands, layout tools, electrical planning functions, analysis tools, and output options in one dedicated interface inside Autodesk Civil 3D. Users typically work with the palette throughout the complete PV planning workflow, from preparing the drawing and placing arrays to checking results and creating project outputs.
To do this, right-click on your drawing when no objects are selected to access the Autodesk Civil 3D context menu. Then, under “Helios3D – More Commands,” select the “Show Palette…” option.
Use this command when the Helios 3D Palette is closed, hidden behind other Civil 3D windows, or no longer visible after changing the workspace or screen layout. Before opening the context menu, make sure that no object is selected in the drawing. Otherwise, Civil 3D may show an object-specific context menu instead of the general drawing context menu.
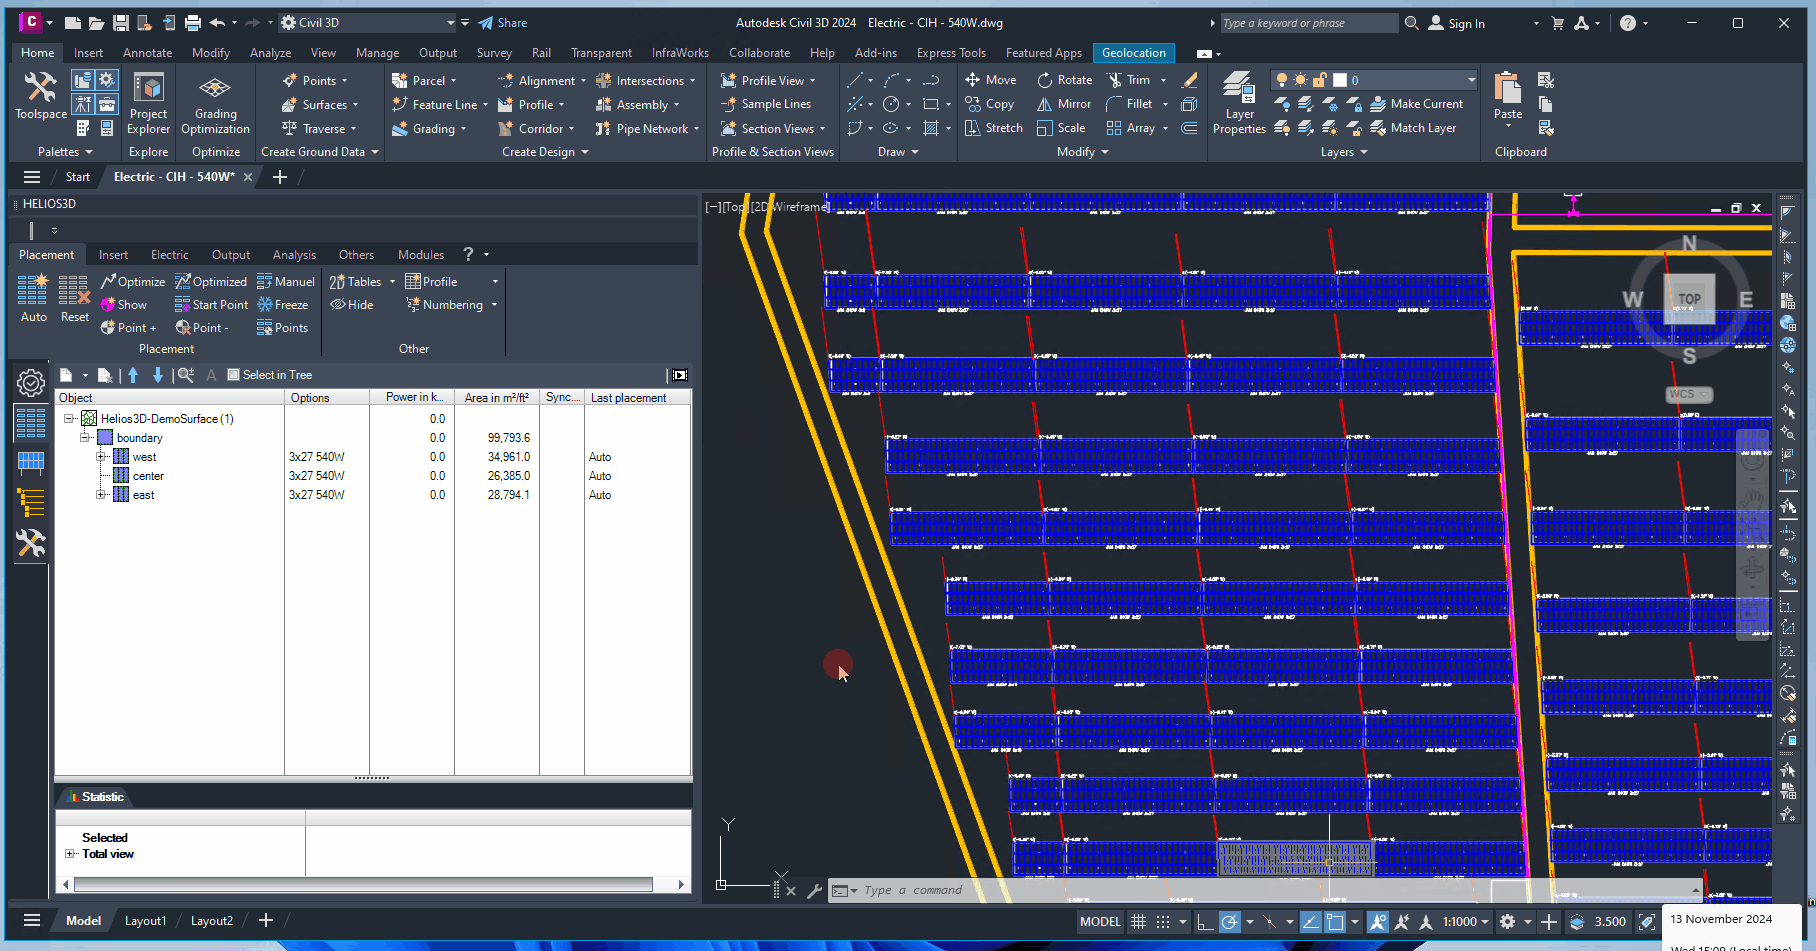
The palette layout is divided into functional areas. The upper part provides access to main command groups and ribbon-style categories. The vertical structure contains module-specific pages and commands for the active planning task. This structure helps users switch between layout, electrical planning, analysis, and output-related workflows without leaving the Civil 3D drawing environment.
The Helios 3D palette appears as shown below.
Typical work with the Helios 3D Palette starts with project and drawing preparation, followed by layout creation, array placement, electrical planning, analysis, and final output. The palette does not replace the Civil 3D drawing area; instead, it provides Helios 3D commands that operate on the active DWG, project data, and planning objects.
The palette is especially relevant when working with PV areas, module tables, array layouts, exclusion zones, placement results, electrical structures, analysis results, and project deliverables.
The function tabs are organized into various sections. The upper sections of the palette are covered here in the subsections of „Helios 3D Palette“.
The ribbon bar is divided into several categories, each offering distinct functions, regardless of the current module tab in use. In the following subsections, we provide detailed descriptions of each command menu. Use the following sections to navigate to the command group that matches your current planning task. For example, use Placement for layout-related work, Electric for electrical planning, Output for reports and exported data, and Analysis for checking terrain, layout, or performance-related aspects. To jump to a specific topic, please click the link to the relevant section:
- Placement
- Insert
- Electric
- Output
- Analysis
- Others
- Modules
If you are new to Helios 3D, start with the general palette structure first and then continue with the command group that matches your current task. The palette is a navigation and command interface; the actual planning objects are usually created or modified in the active Civil 3D drawing and stored in the related Helios 3D project data.
For troubleshooting display problems, missing palette entries, or loading issues, refer to the related Help Center articles about palette display issues and loading Helios 3D in Civil 3D.