
Reports as background pictures
Here, you can generate reports and insert them into the drawing. Various pre-defined reports are available in the Helios 3D installation directory, located under the path .\Reports\System.
Reports as background pictures are useful when report results need to remain visible inside the CAD drawing together with the project layout. The inserted report pages are placed as drawing objects and can be positioned in the layout area after the report has been generated.
In the future, we plan to offer the option for you to add custom reports to the .\Reports\User folder. These reports can be created using the reporting tool located in the Helios 3D Bin folder.

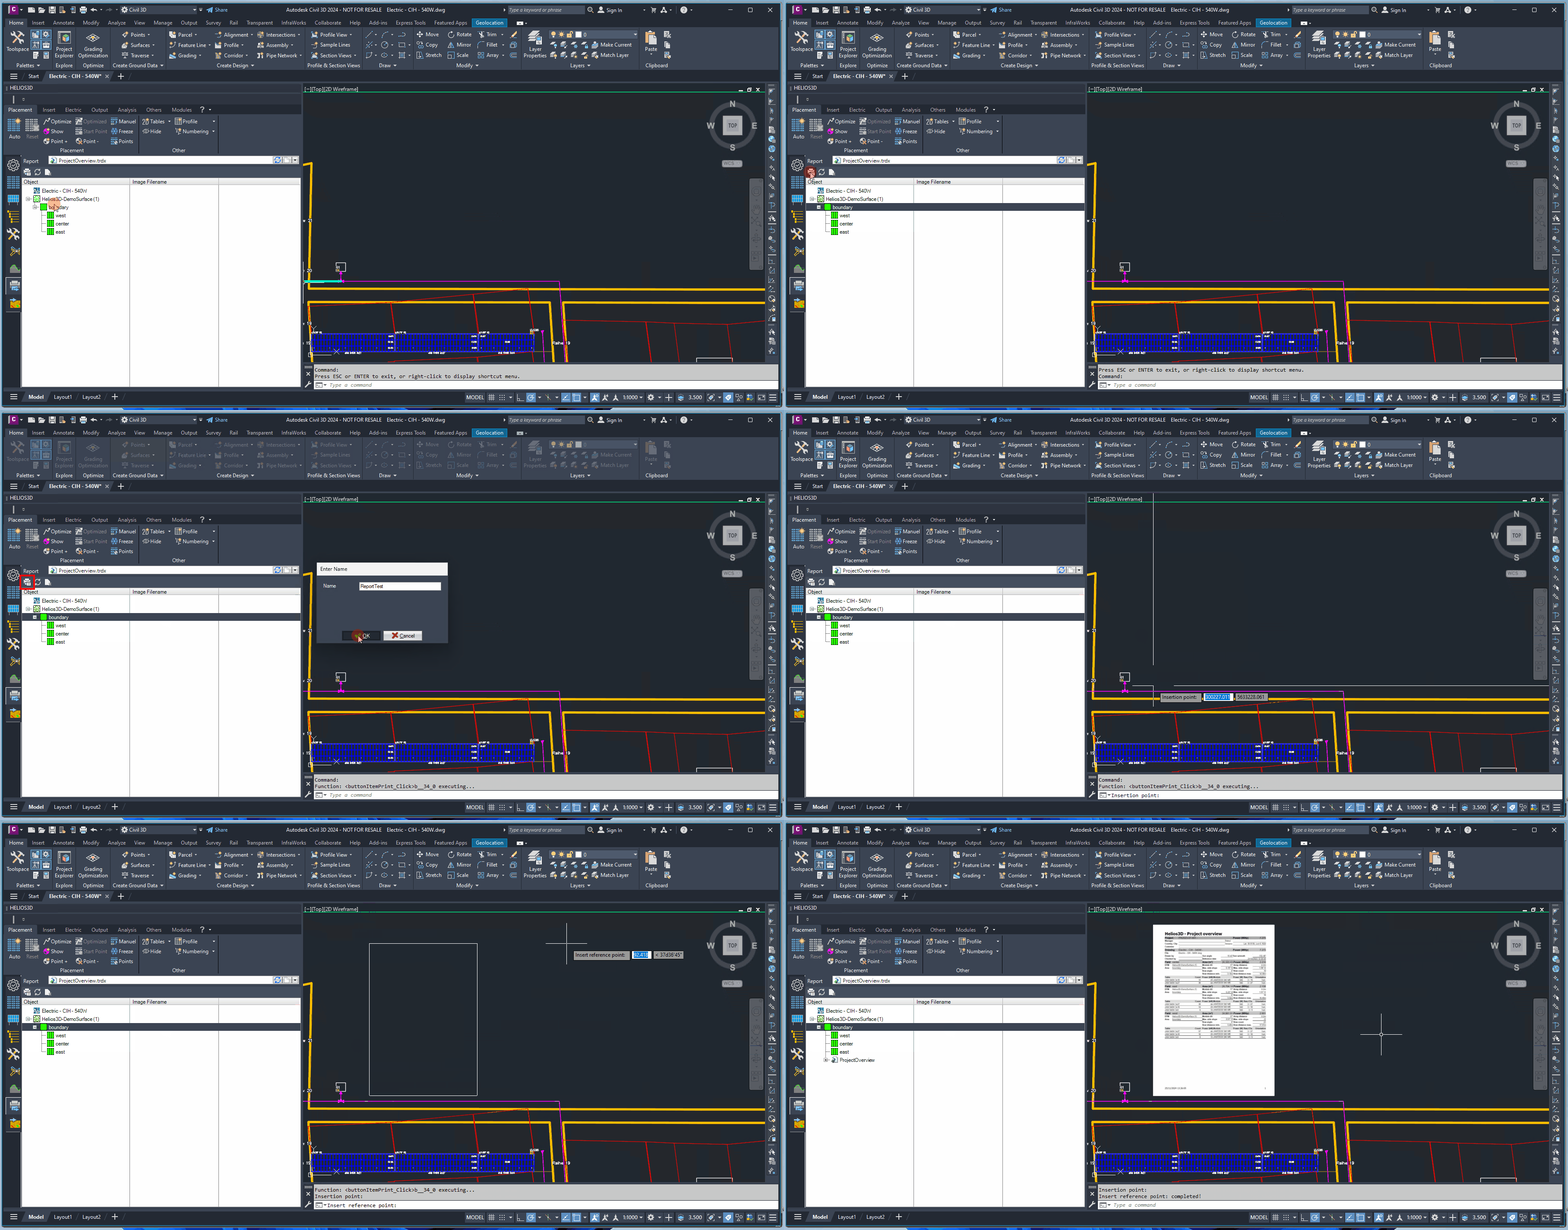
In the „Report“ line, you can select a report from the refreshable list. Alternatively, you can open the report designer by clicking the corresponding button.

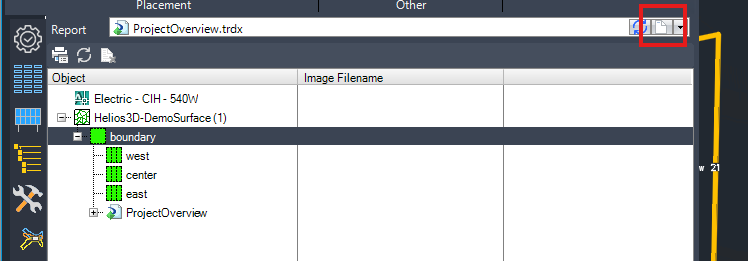
Before generating a report, select the required report template in the “Report” line and choose the required scope in the list below. The scope can refer to the complete drawing, an area, or a field, depending on the available entries in the current drawing.
Insert Selected Report

Clicking the „Generate Report“ button creates the report selected in the dropdown menu, using the filter settings defined by the element selection in the list below. Available filters include the complete drawing (e.g., „Test_ZWR“ in the figure), a specific area, or a field.
Upon pressing the button, you will be prompted to enter a name for the report. After naming it, you can insert the report into the drawing by selecting a location with your mouse.
- The first click defines the insertion point for the first page of the report.
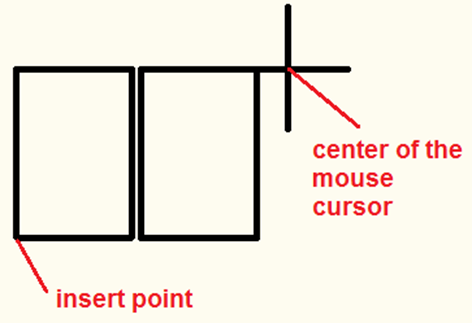
- Subsequent pages are displayed schematically as frames, as shown in the next figure.
- You can adjust the page size and arrangement (row-wise, column-wise, or in a block of multiple rows and columns) by moving your mouse.
A final left-click confirms and inserts the pages into the drawing.
Use Refresh when an already inserted report should be updated after project or drawing information has changed. Select the report base entry or one of its report pages in the report list before running the refresh command.
Refresh Selected Report

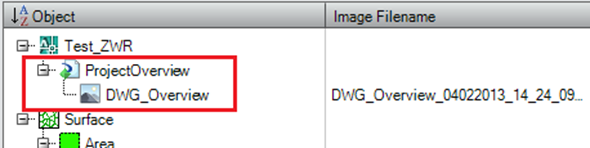
The Refresh button updates the report selected in the list. To refresh, ensure that the entry for the report base or one of its images/pages (child nodes) is selected in the list. These selectable nodes are highlighted in the following figure.
Use Delete only when the selected report insertion should be removed from the drawing. Make sure that the correct report base entry or one of its related pages is selected before deleting.
Delete Selected Report

The Delete button removes the report selected in the list. To delete, ensure that the entry for the report base or one of its images/pages (child nodes) is selected in the list. These nodes are indicated in the previous figure.